Prerequisites
This section will cover the setting up of VM clusters necessary to follow the lab.
Getting started
The very first thing that we require before we start is 4 Virtual or Physical machines either one should work.
For now, I will be using UTM to virtualize all 4 machines on my MacOS. Feel free to follow through. For windows, it is much easier to initialize using WSL. Here’s a really awesome tutorial for that Running Multiple Distros on Windows WSL FHD1 by Timothy Unkert2.
First steps should be to download and install UTM3. After that, go ahead and download any linux distro of your choice4, but I do recommend starting out with debian5 as we are going to have a headless6 setup and debian is the industry standard for linux subsystems.
Downloads
If you are on Silicon Mac (M-series), make sure to download the ARM64 version https://cdimage.debian.org/debian-cd/current/arm64/iso-cd/
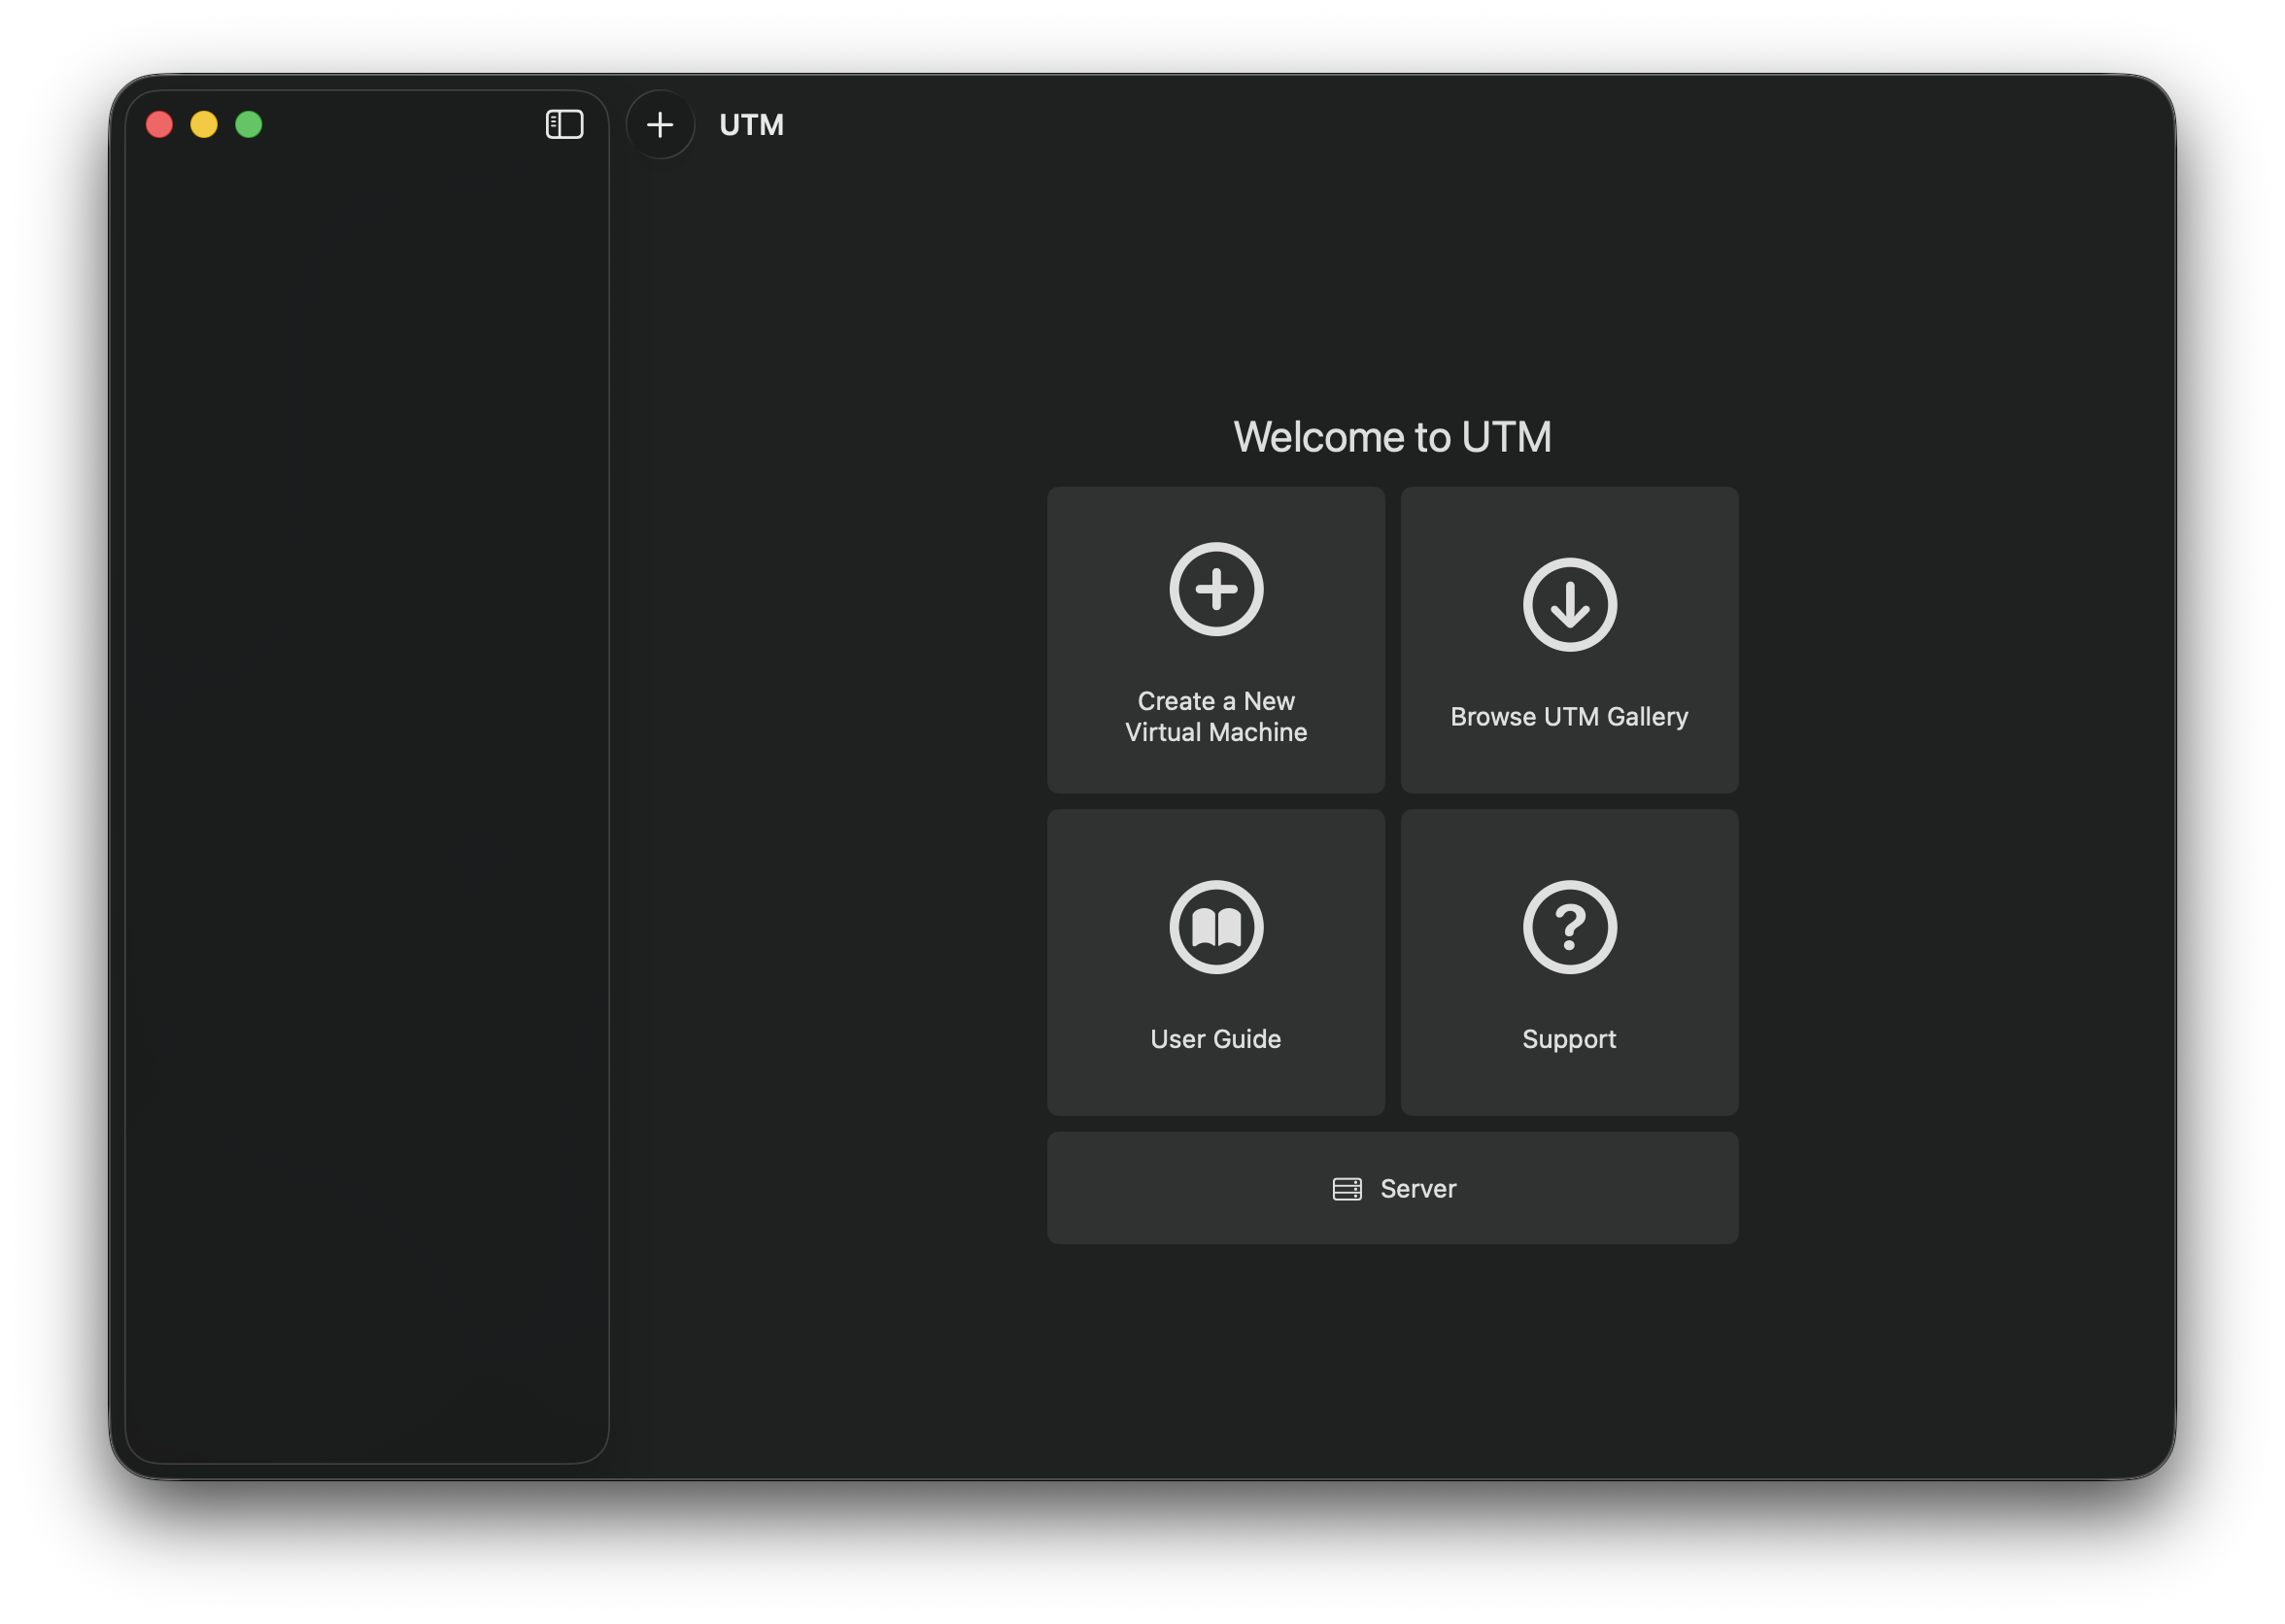
Here’s what it should look like
Requirements
| Name | Description | CPU | RAM | Storage |
|---|---|---|---|---|
| jumpbox | Administration host | 1 | 512MB | 10GB |
| server | Kubernetes server | 1 | 2GB | 20GB |
| node-0 | Kubernetes worker node | 1 | 2GB | 20GB |
| node-1 | Kubernetes worker node | 1 | 2GB | 20GB |
After you have the downloaded ISO, follow these steps from the UTM screen or you can also follow this video and use these steps if something is unclear.
Steps to install Linux Debian VM on UTM
- Create a new virtual machine
- Virtualize
- Linux
Memory = 512 MBCPU cores = 1- Disable display output
- Boot from ISO Image, Set the PATH to where your debian iso file
Storage = 10 Gib- Select a folder to share between this VM and MacOS
- Optional: I like to create a new folder in Documents dir
shared-utm
- Optional: I like to create a new folder in Documents dir
- Name =
jumpboxand checkOpen VM Settings - In the VM settings, set the
Notes = Administration host - See Devices section on the left, and remove
Serial- Verify you don’t have
Displayas well, even though we removed it earlier during installation
- Verify you don’t have
- Save
- Click on Play
- Hit Enter until you’re on the hostname screen
hostname = jumpbox- Hit Enter, when asked about domain name
- Enter
jumpboxfor everything after that until partitioning method - Select
use entire diskfor partition- Don’t worry, this just means it uses the entire
10 Gibdefined above.
- Don’t worry, this just means it uses the entire
- Hit Enter until
Write Changes to disk, select Yes and enter - Hit Enter, until you’re on Software selection, select Debian Desktop Environment
- When you are at Finish Installation, click continue
- It will reboot on to the same screen we started on. Stop the machine at this point
- Click on edit, and then go to Drives > USB Drives, Hit Clear
- Run the machine, and you should be in GRUB, Hit Enter
- Enter
login = jumpbox - Enter
password = jumpbox - Run
sudo whoami- Verify that it returns
jumpbox is not in the sudoers file.
- Verify that it returns
- Run
su - Run
/usr/sbin/usermod -aG sudo jumpbox- This command registers the default user ie: jumpbox as root user
- Run
sudo shutdown now - Run the machine again, and Enter
sudo whoami- Verify it returns
root
- Verify it returns
- You’re in!
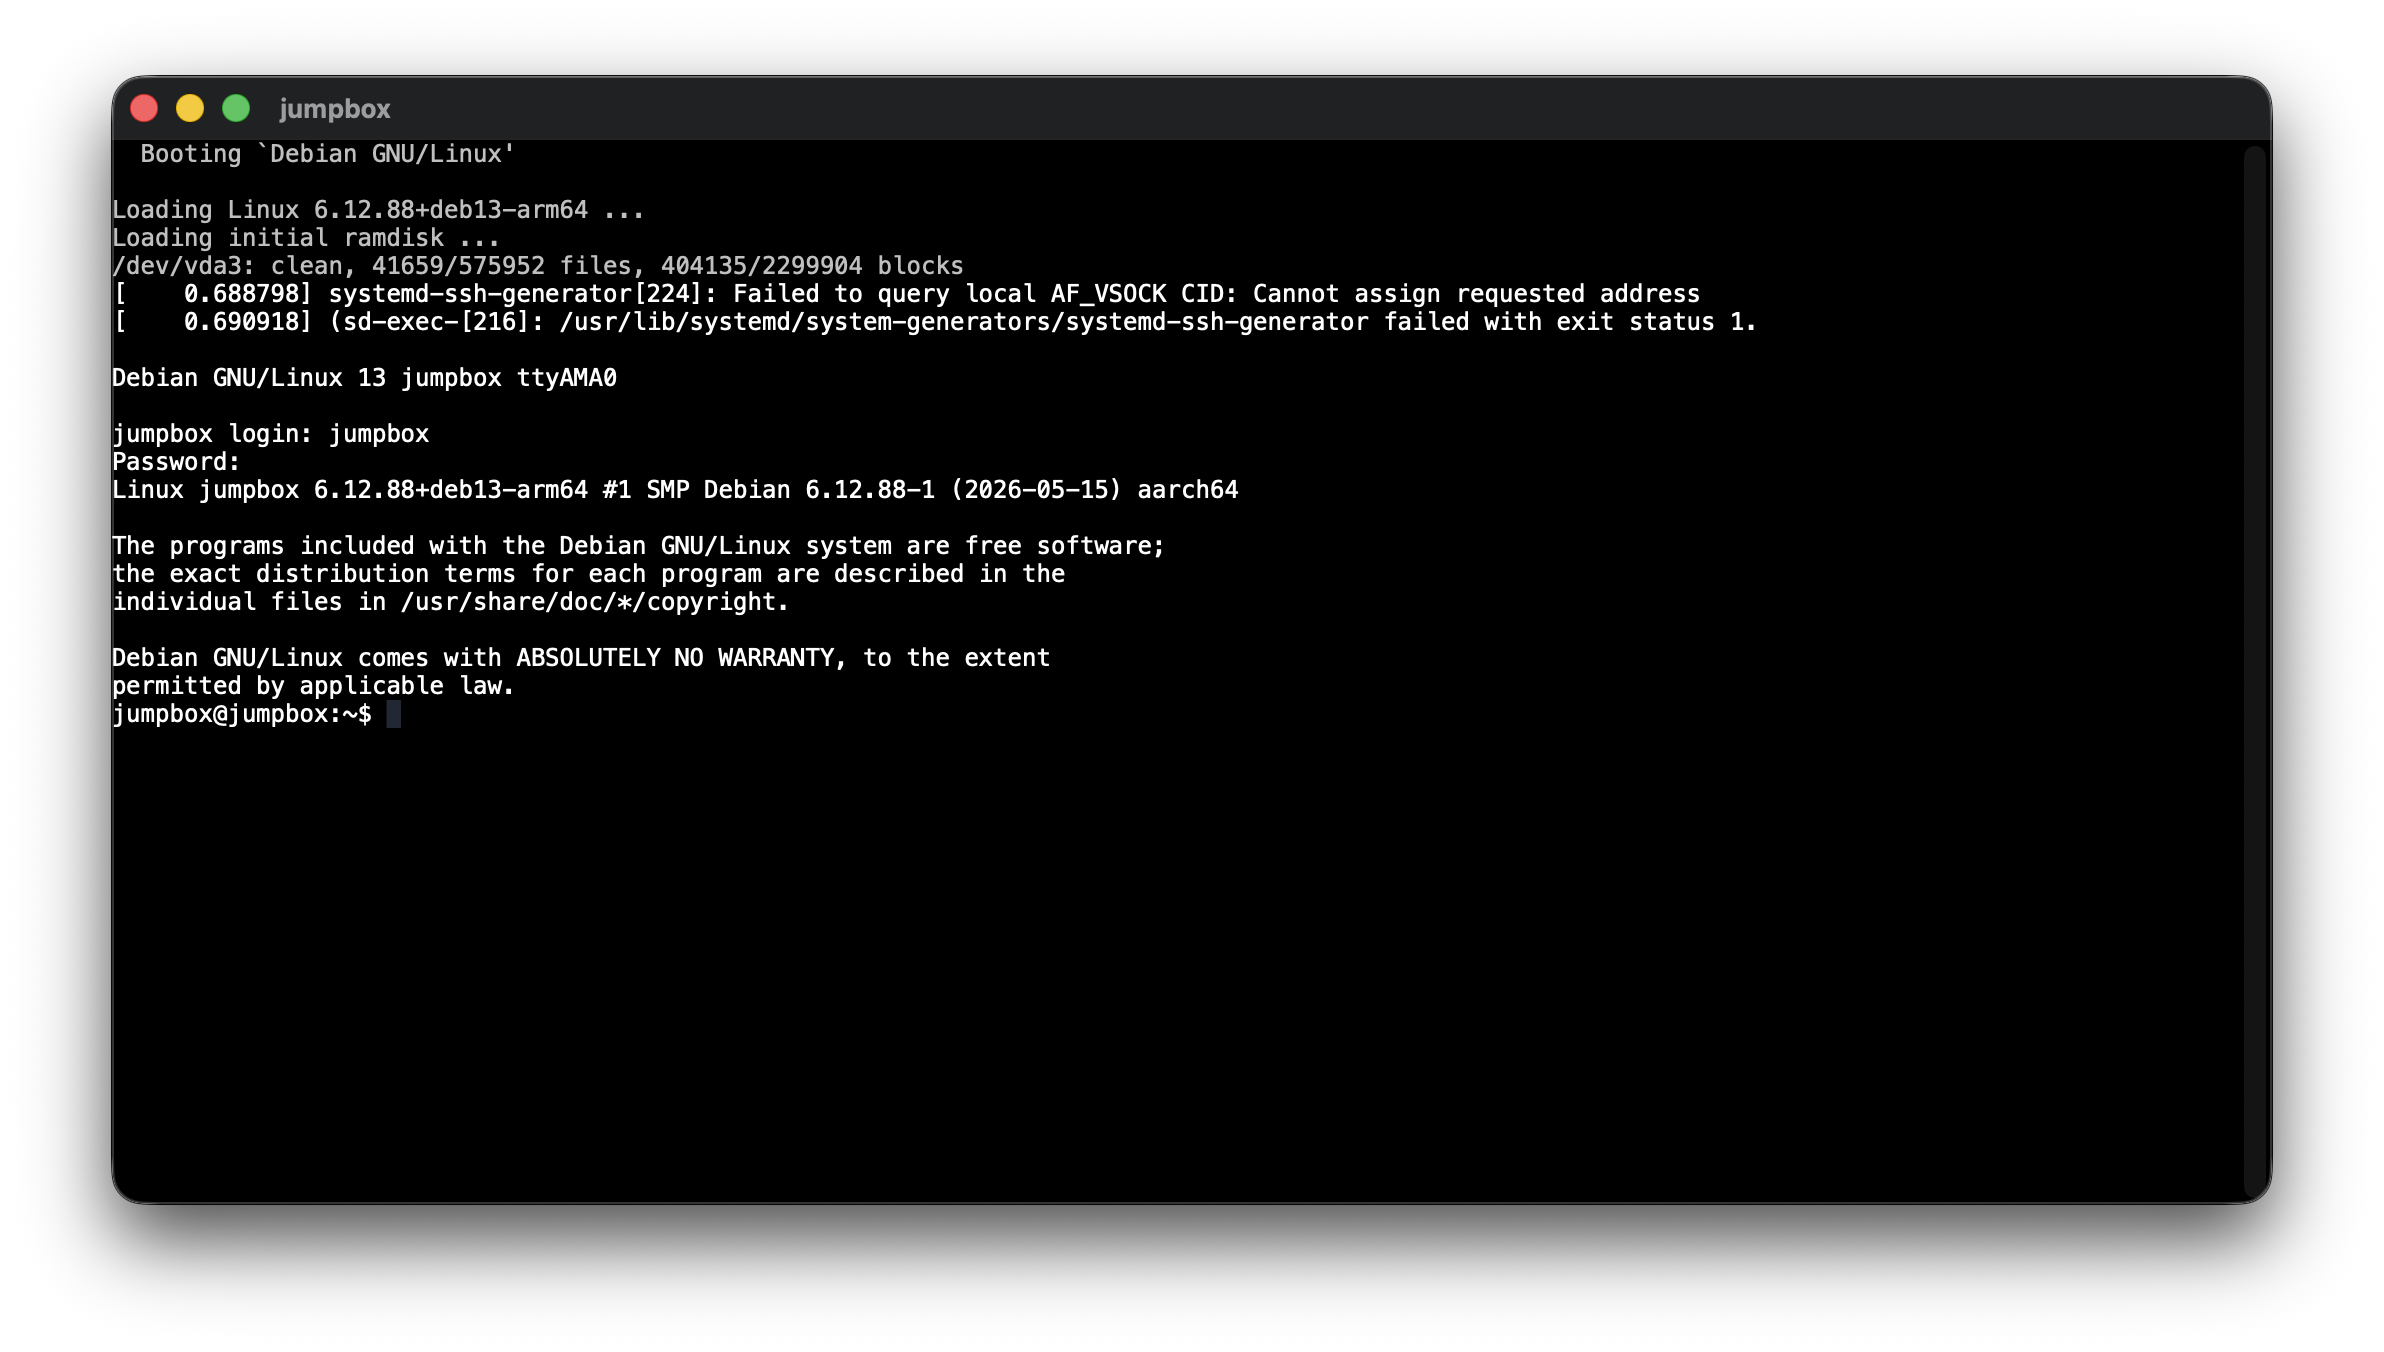
We now have a system with default user jumpbox with root privileges. If you followed all these steps correctly, you should see this when you boot up
 Repeat all the steps for server, node-0, node-1 from the Requirements section. After you are done with the installation for all 4 VMs, you can safely delete the ISO file we downloaded at the very start.
Verify the installation
After these steps, go ahead and spin up your machines one by one and run this command and check if the output is similar to what is shown below (your version might differ, as in the lab7 the debian version is 12, while mine is 13 aka. trixie)
cat /etc/os-release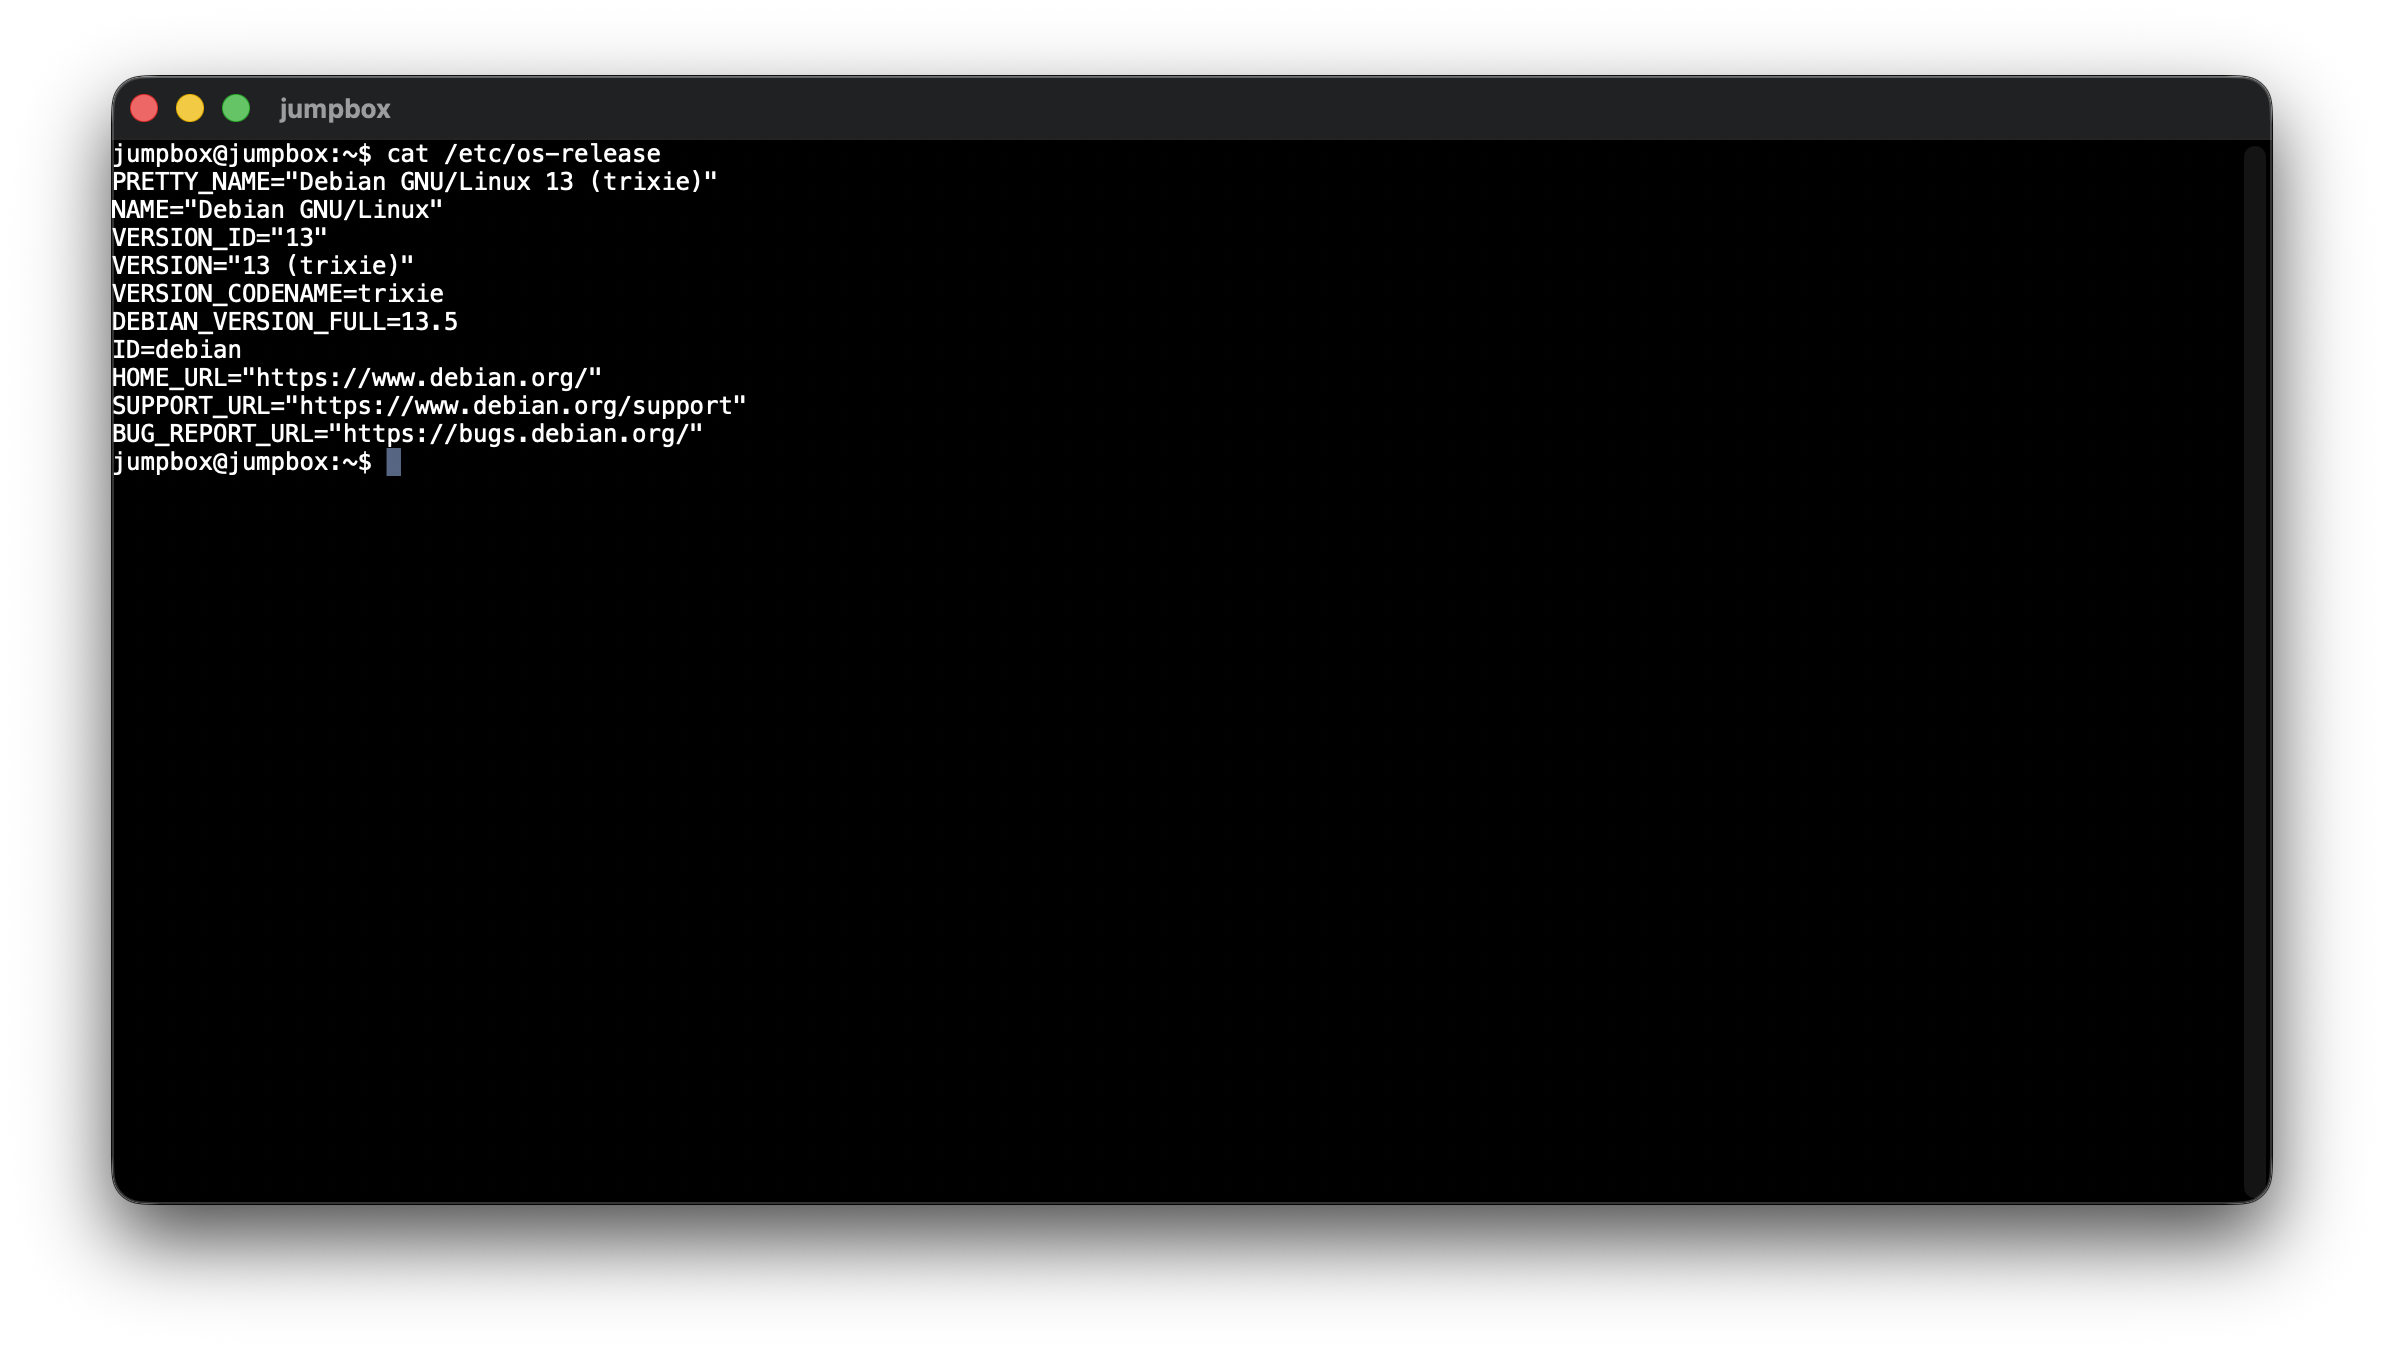
Conclusion
You can shutdown your machine with this command
# poweroff
/sbin/poweroff
ERROR
This should result in
Access Denied
To get by this wall, enter this command
# root command
sudo shutdown now
This will prompt you to enter your password, In our case, password was jumpbox.
Now, if you run the previous command again. It should work.
IMPORTANT
You might have noticed, I wrote root command in the comments above. This is because
sudocommand gives us admin privilege in Linux. I will not cover Linux commands in this section, but they are really useful in learning K8s.
sudoworks here just because during installation we gave the default user the root privileges needed. We would have wrotesuinstead if we didn’t do that step.
And that should be it, we are done with the most important thing. And remember,
“If it works, it works.” lol
Optional: Run VM through native terminal
Technically, you could get by with this approach, but in a production setting, oftentimes it is required to ssh8 into systems and work directly with terminal.
To replicate this, UTM has a useful feature we could use, that is utmctl. We could use this tool to run our VMs directly from Mac terminal.
ABSTRACT
This doesn’t mean you would be able to interact directly with Linux through Mac terminal like WSL2. You would still need to have UTM running in background. But, I still recommend this approach because it gives you hands on experience with how to work around with terminals. Personally, I like to have it running in background and have it set up so that it doesn’t show up in dock, but instead, in menu bar. You would notice, that you could also start it using the menu bar icon, but I like to do it through this tool.
Here are the steps if you still prefer to stick around:
- Install sudo
Run
suin the terminal and enter your password. Runapt update && apt install sudo - Enable SSH
Run
apt update && apt install sudo - Repeat the above steps for all VMs
- We still have to be in
sumode in order to access full sudo features because we haven’t configured the user to be a root user by default. - You could do it online if you want, but this isn’t strictly necessary for this lab.
- We still have to be in
- Enable utmctl for Mac terminal
Open the Mac terminal and run
sudo ln -sf /Applications/UTM.app/Contents/MacOS/utmctl /usr/local/bin/utmctl- This creates a symbolic link so the
utmctlexecutable inside the UTM app bundle becomes available globally from your Mac terminal.
- This creates a symbolic link so the
With this command, you would be able to run your systems directly from your terminal. You still have to login and interact via GUI for those VMs.
# machine-name = jumpbox, server, node-0, node-1
utmctl start machine-name
You can further verify this by running utmctl list. It will list all our VMs and the status for the machine-name should be started.
Visual Installation for
utmctlYou could also use this really awesome youtube tutorial by Kobi Bell or this blog by Ryan himmelwright, if you prefer text.