Introduction
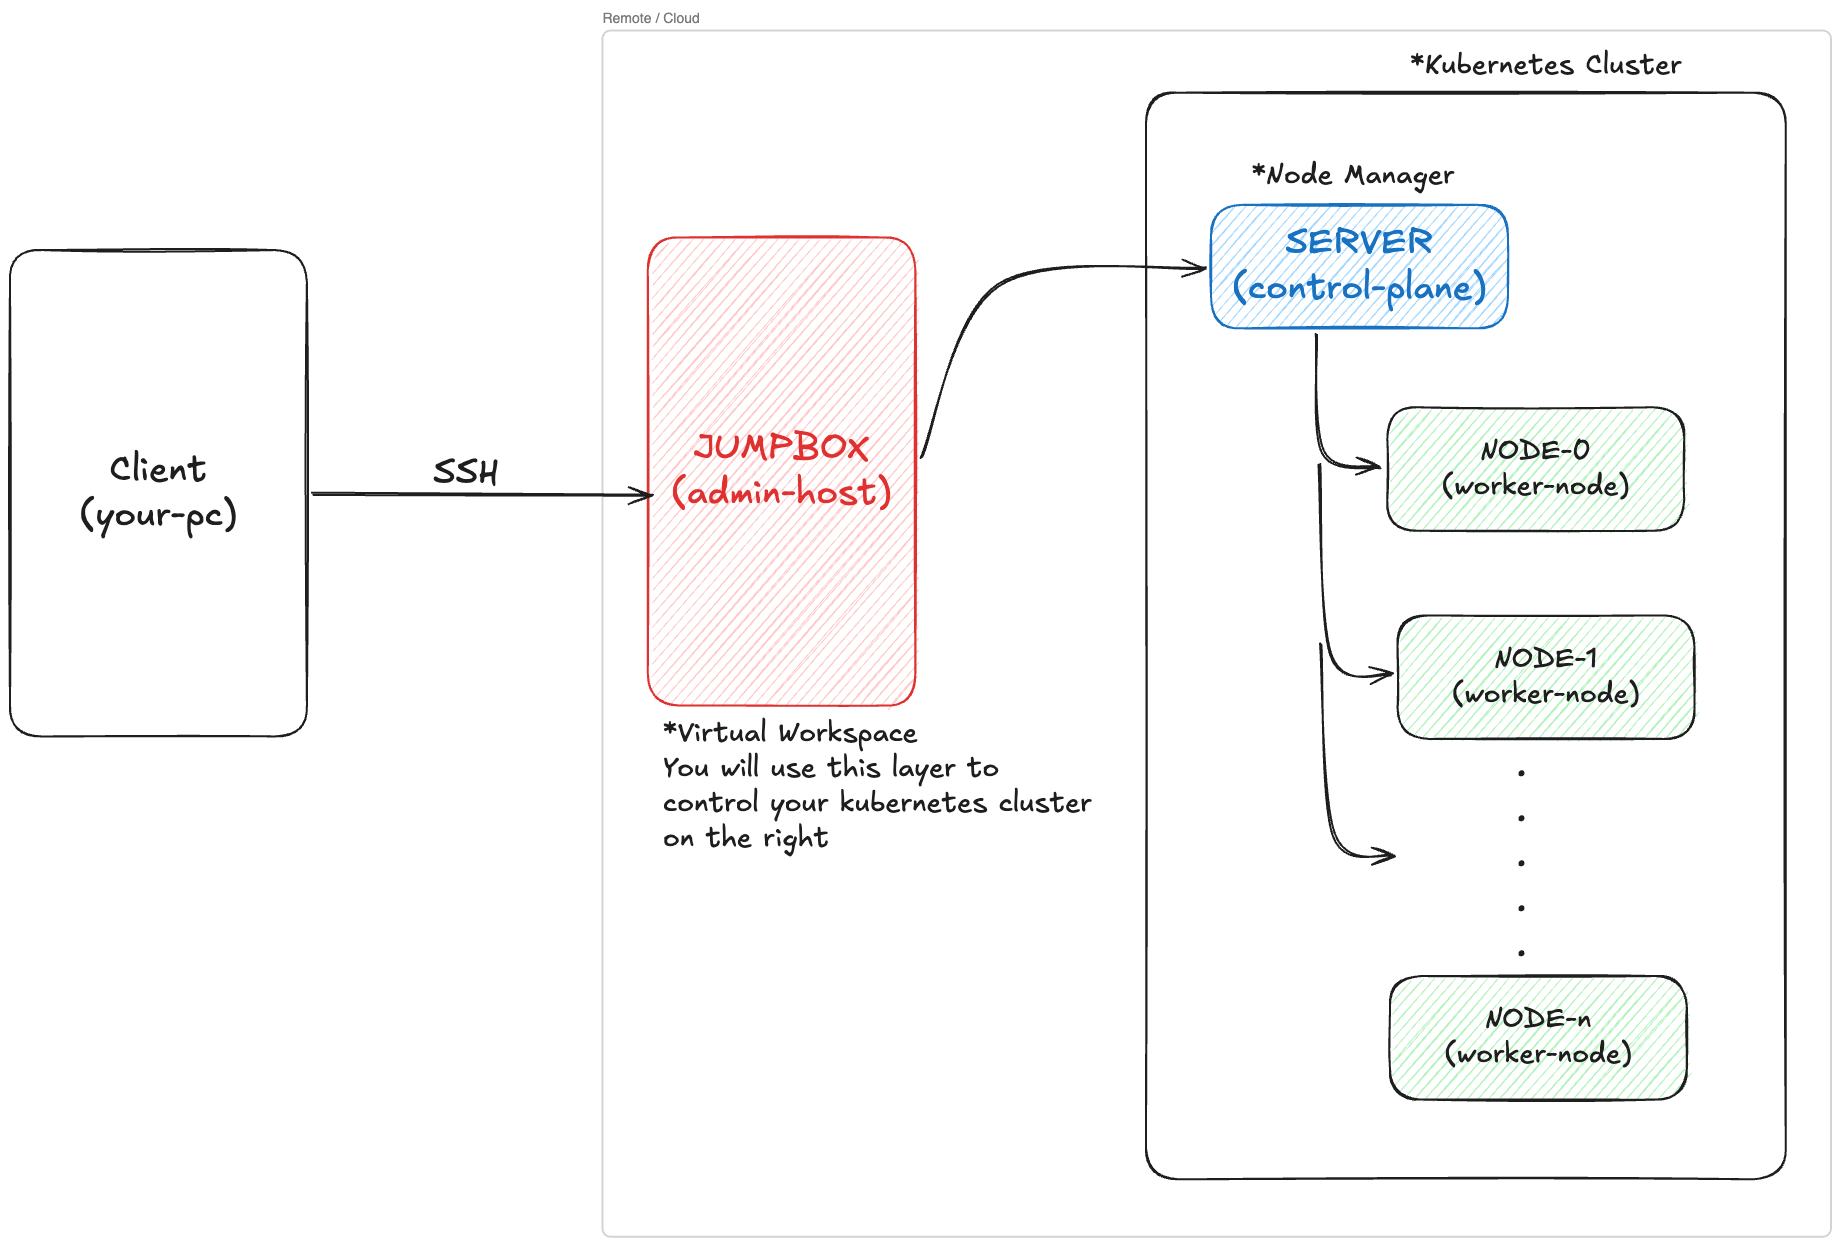
As discussed earlier in Introduction; Kubernetes requires a set of machines to work:
- Administration host
- In our case, this is
jumpbox. This acts as our ‘workspace’. By which, I mean we would use this machine to control the ‘control plane’. This machine will have our toolset which will enable us to run commands usingkubectl, generate certs, configure the other three machines.
- In our case, this is
- Control Plane
- In our case, this is
server. This acts as our ‘control plane’. This will act as a brain which is responsible for duties like run, monitor, store config files, making decision like which ‘worker node’ gets the task.
- In our case, this is
- Worker Nodes
- As the name suggests, this is the ‘worker node’. In our case, it is
node-0andnode-1. These machines are responsible to do all the actual work. By which, I mean it will serve our data.
- As the name suggests, this is the ‘worker node’. In our case, it is
Illustration depicting the workflow of what we are dealing with
Provisioning Compute Resources
In this tutorial we will be using a text file which will serve as our ‘database’ to store various kinds of data.
This data could include various machine attributes that will be used when setting up the Kubernetes Cluster shown in the illustration.
This is really similar to CSV files, where the values are stored like this
name,age,grade
John, 18, A
Cindy, 16, B
In our case, we are going to use a text file and this will reside in the control plane layer ie: server and it makes sense because this layer is responsible to manage all the worker nodes and itself.
Just like CSV, we are going to store our data separated by space in a text file. The following schema represents the entries in the ‘database’, one entry per line:
IPV4_ADDRESS FQDN HOSTNAME POD_SUBNETHere,
- IPV4_ADDRESS = machine IP address
- FQDN = fully qualified domain name
- HOSTNAME = hostname
- POD_SUBNET = IP subnet
Computer Networking Fundamentals
Now, you might wonder, what is a pod and/or pod_subnet? maybe a domain as well. These all come under the basics of what we call Computer Networking.
Please don’t use LLMs to explain these topics
If you are unfamiliar with these terms, I would highly encourage you to visit geeksforgeeks.org/computer-networks/basics-computer-networking/. Going through the entire thing should take you around 3 days at best. If you would ask any LLM to explain this to you, it would probably do a really bad job and over-complicate things for no reason.
But, if you want to only focus on what’s required, you could probably get by only skimming through the topics in Network Layer, although I don’t recommend it, but it’s still better than using any LLM. The explanations are really simple and easy to follow.
Kubernetes assigns one IP address per pod and the POD_SUBNET represents the unique IP address range assigned to each machine in the cluster for doing so.1
Here’s an example of machine database based on the schema we defines earlier:
XXX.XXX.XXX.XXX server.kubernetes.local server
XXX.XXX.XXX.XXX node-0.kubernetes.local node-0 10.200.0.0/24
XXX.XXX.XXX.XXX node-1.kubernetes.local node-1 10.200.1.0/24
IP’s have been masked out, this is because your machines can be assigned any IP address and it is not meant to be shared, do don't distribute your IPs pls
Public and Private/Guest IPs
If you have seen my images clearly, you might have noticed that my guest IP is exposed in the title bar of the terminal. This is not the best practice but I am lazy, so I just didn’t bother to crop it. But you shouldn’t have this exposed as when working with cloud environment, anyone could potentially reach to your system using this Public IP.
However, the one that we have is actually Private/Guest IPs .
Common private ranges are:
10.0.0.0 to 10.255.255.255
172.16.0.0 to 172.31.255.255
192.168.0.0 to 192.168.255.255
It is safe as exposed here because they are not routable on the public internet by default. However, methods like port forwarding, bridged networking, etc could expose them, but we don’t want that now.
Based on the Schema we defined earlier, we need four data points out of which we already have three, which are IPs, hostname and pod_subnet values2
We can extract IPs and hostname using utmctl or by going through the UTM dashboard. Some useful commands for that
# Get UUID, Status and Hostname
utmctl list

# Get IPs (make sure the machine-name is running before you call this)
utmctl ip-address machine-name
For pod_subnet value, I highly encourage to go through the linked article to know in detail about them, but I will be providing a short explanation for why we should copy the values given in the code snippet.
So, what does 10.200.0.0/24 actually mean?
10.200.0.0 is the prefix for the IP pool here, and /24 defines the size of the IP pool. Here, /24 means that it strictly contains 256 IP addresses according to the standard networking format (CIDR notation).
Furthermore,
- node-0 (
10.200.0.0/24): This tellsnode-0that it owns the addresses from10.200.0.0to10.200.0.255. If a pod lands on this machine, it gets an IP from this pool (like10.200.0.5) - node-1 (
10.200.1.0/24): This tellsnode-1that it owns the addresses from10.200.1.0to10.200.1.255. If a pod lands here, it gets an IP from this pool (like10.200.1.15).
By splitting it up this way (
.0.vs.1.), the cluster guarantees thatnode-0andnode-1will never accidentally give two different pods the exact same IP address.
Server Database Initialization
Now we know exactly what we need in order to fill up our machine.txt. So, let’s get into it.
If we cd3 into our GitHub repo. We should get something like this:
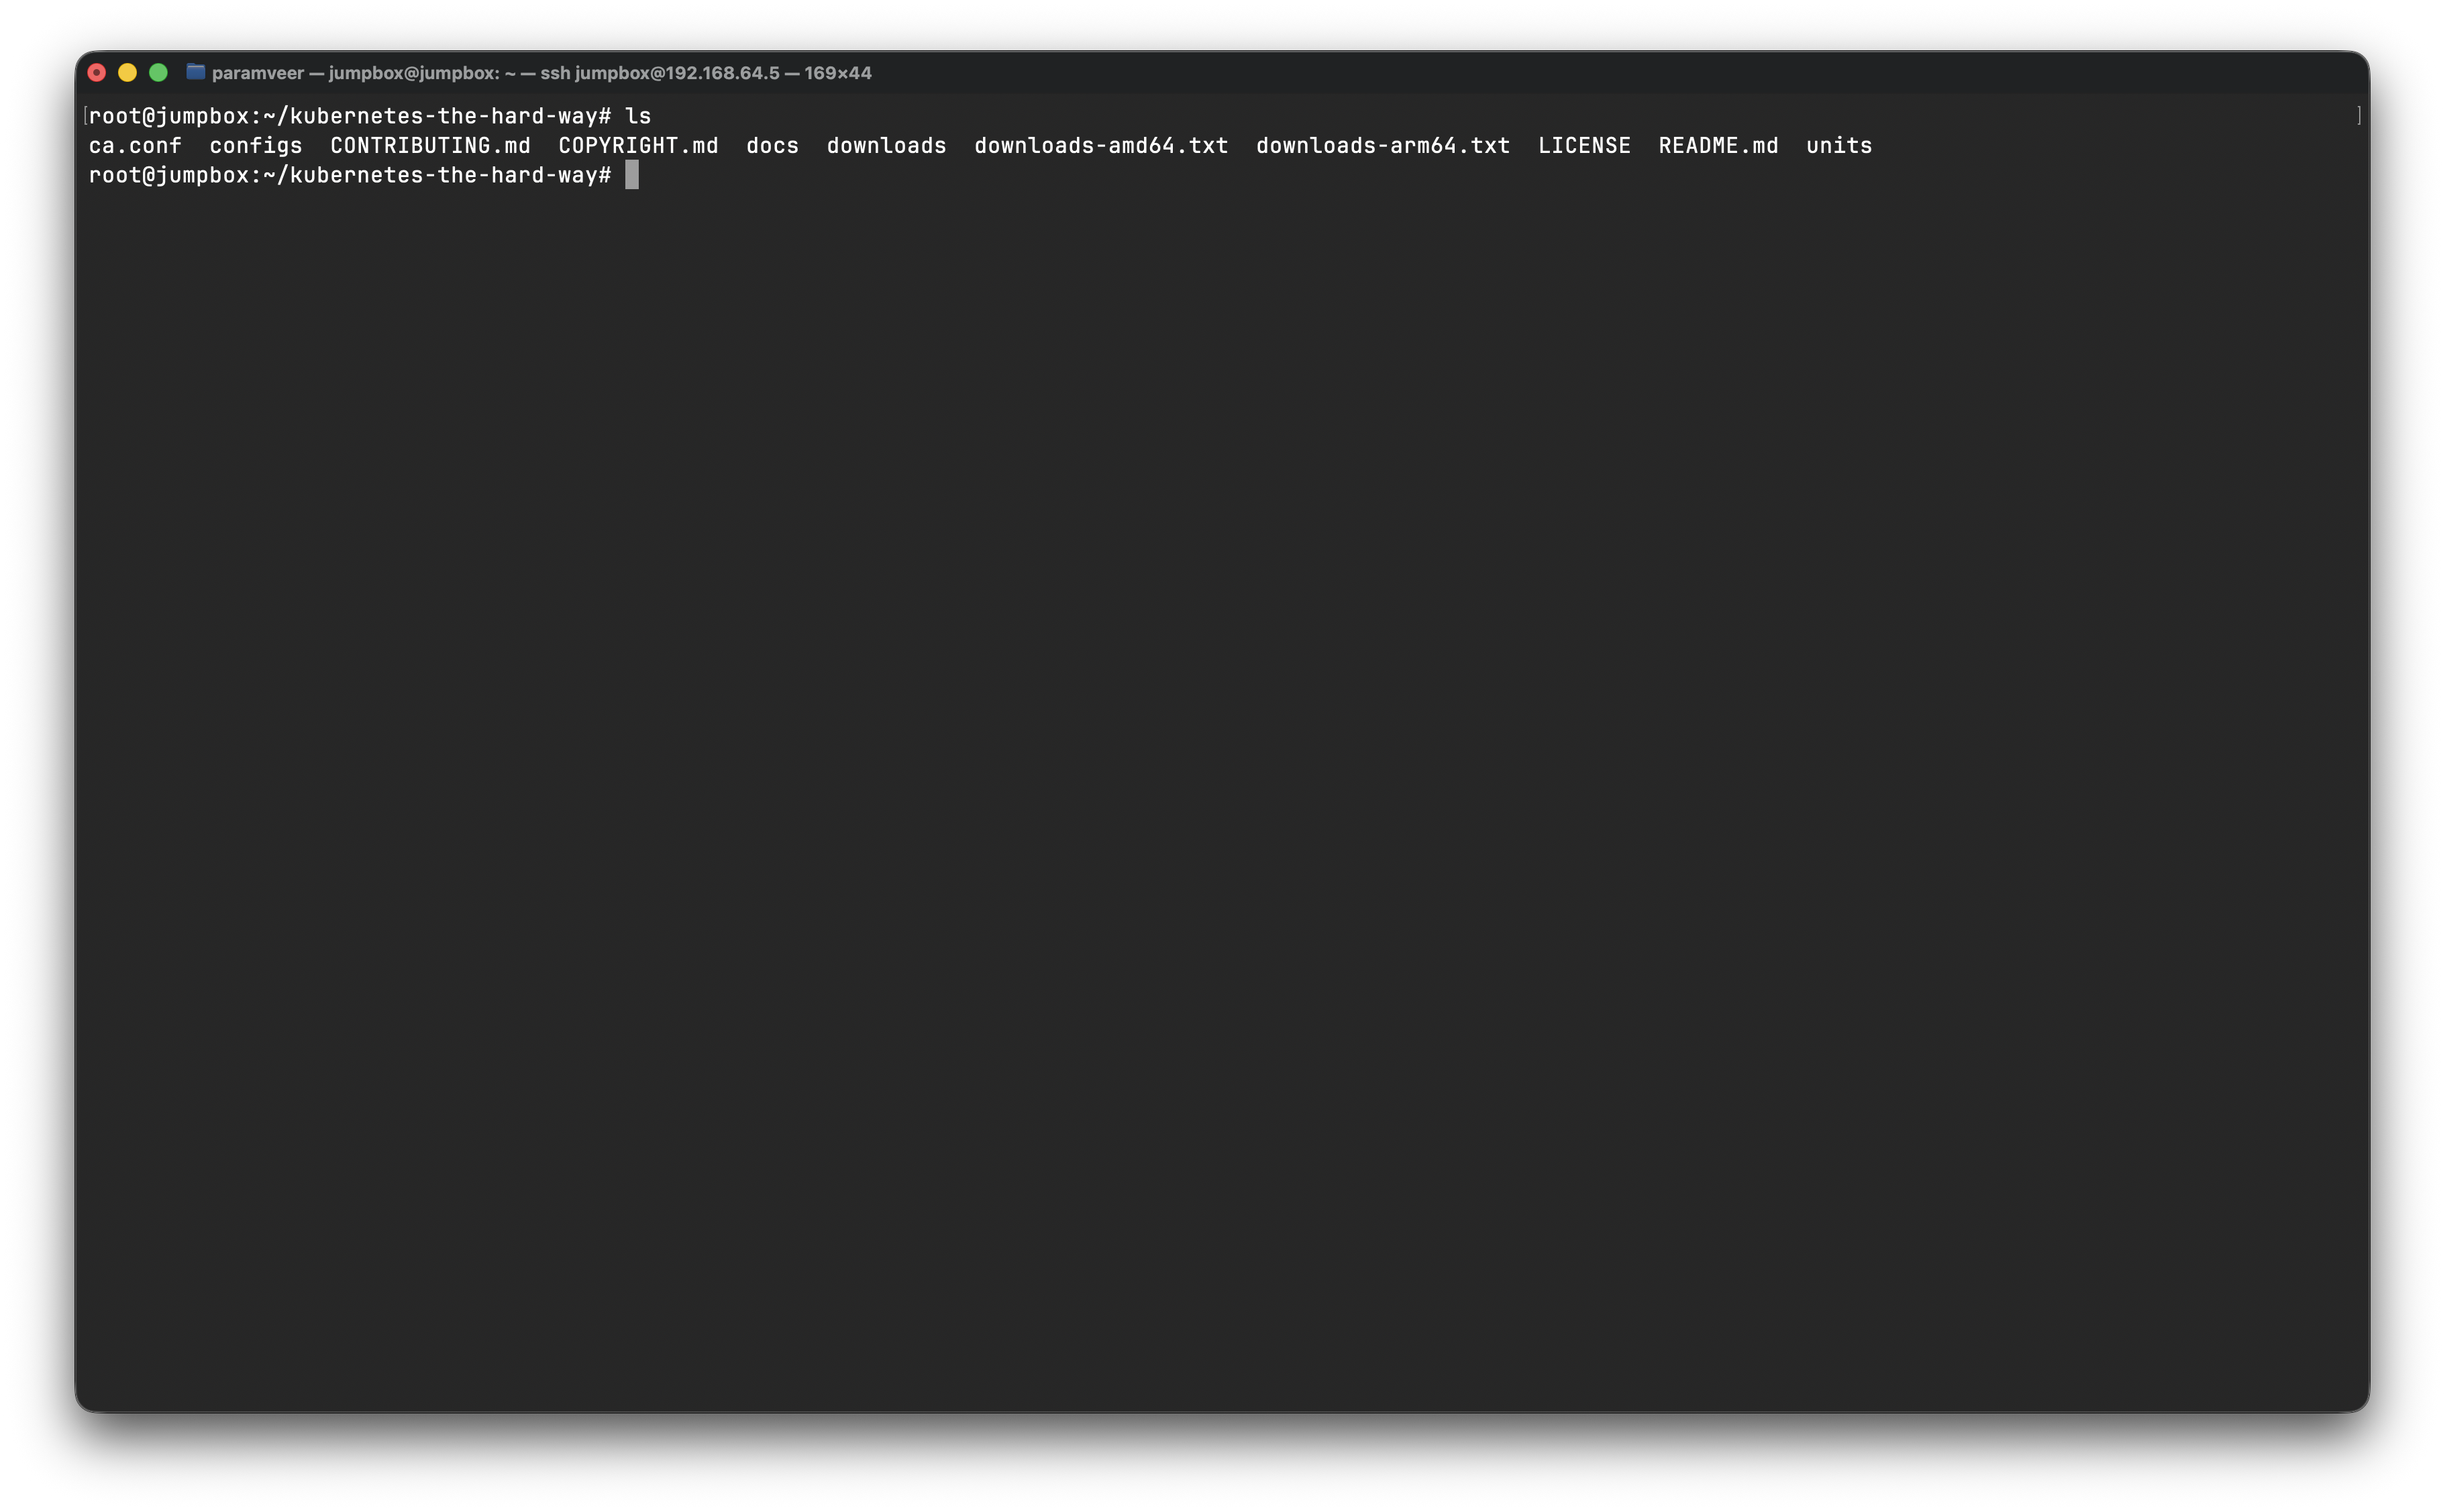 For simplicity, we are going to create
 machine.txt right in this dir ie: /kubernetes-the-hard-way using touch4
# make sure you are in the correct dir
touch machine.txt
This will create a new file in our dir, we can verify the same using ls5
Once we have that, we can start filling out the data needed in the ‘database’. For that, we have to use terminal-based text editor. Popular choices include nano or vim.
If you have experience with vim, feel free to do so. Personally, I will be using nano here.
Nano Cheatsheet
# Open file
nano filename.txt

# Save file
Press `Ctrl + O`, then `Enter`

# Exit
Press `Ctrl + X`
Configure Hostname
Now, as you might have seen in the Schema. The only thing that is remaining is domain name. If you have followed my steps to configure Linux, we intentionally left domain name as blank in Steps to Install Linux Debian VM on UTM.
Now is the time we need this, as we had set domain name as blank. If you run this command:
hostnamectlIt would return the hostname as domain name. Now, we could technically get by using this name, but preferably it is not a good practice. We want to change it something like this server.kubernetes.local. For that, follow these steps:
- Start the
serverVMutmctl start server - SSH into it
IP from
utmctl ip-address serverand thenssh server@ip-address - Get root access
Run
su - - Set the hostname
sudo hostnamectl set-hostname server - Update
/etc/hostsRun
sudo nano /etc/hosts- Find
127.0.1.1 server - Replace with
127.0.1.1 server.kubernetes.local server
This means,
- Full hostname/FQDN =
server.kubernetes.local - Short hostname =
server
- Find
- Reboot
sudo reboot
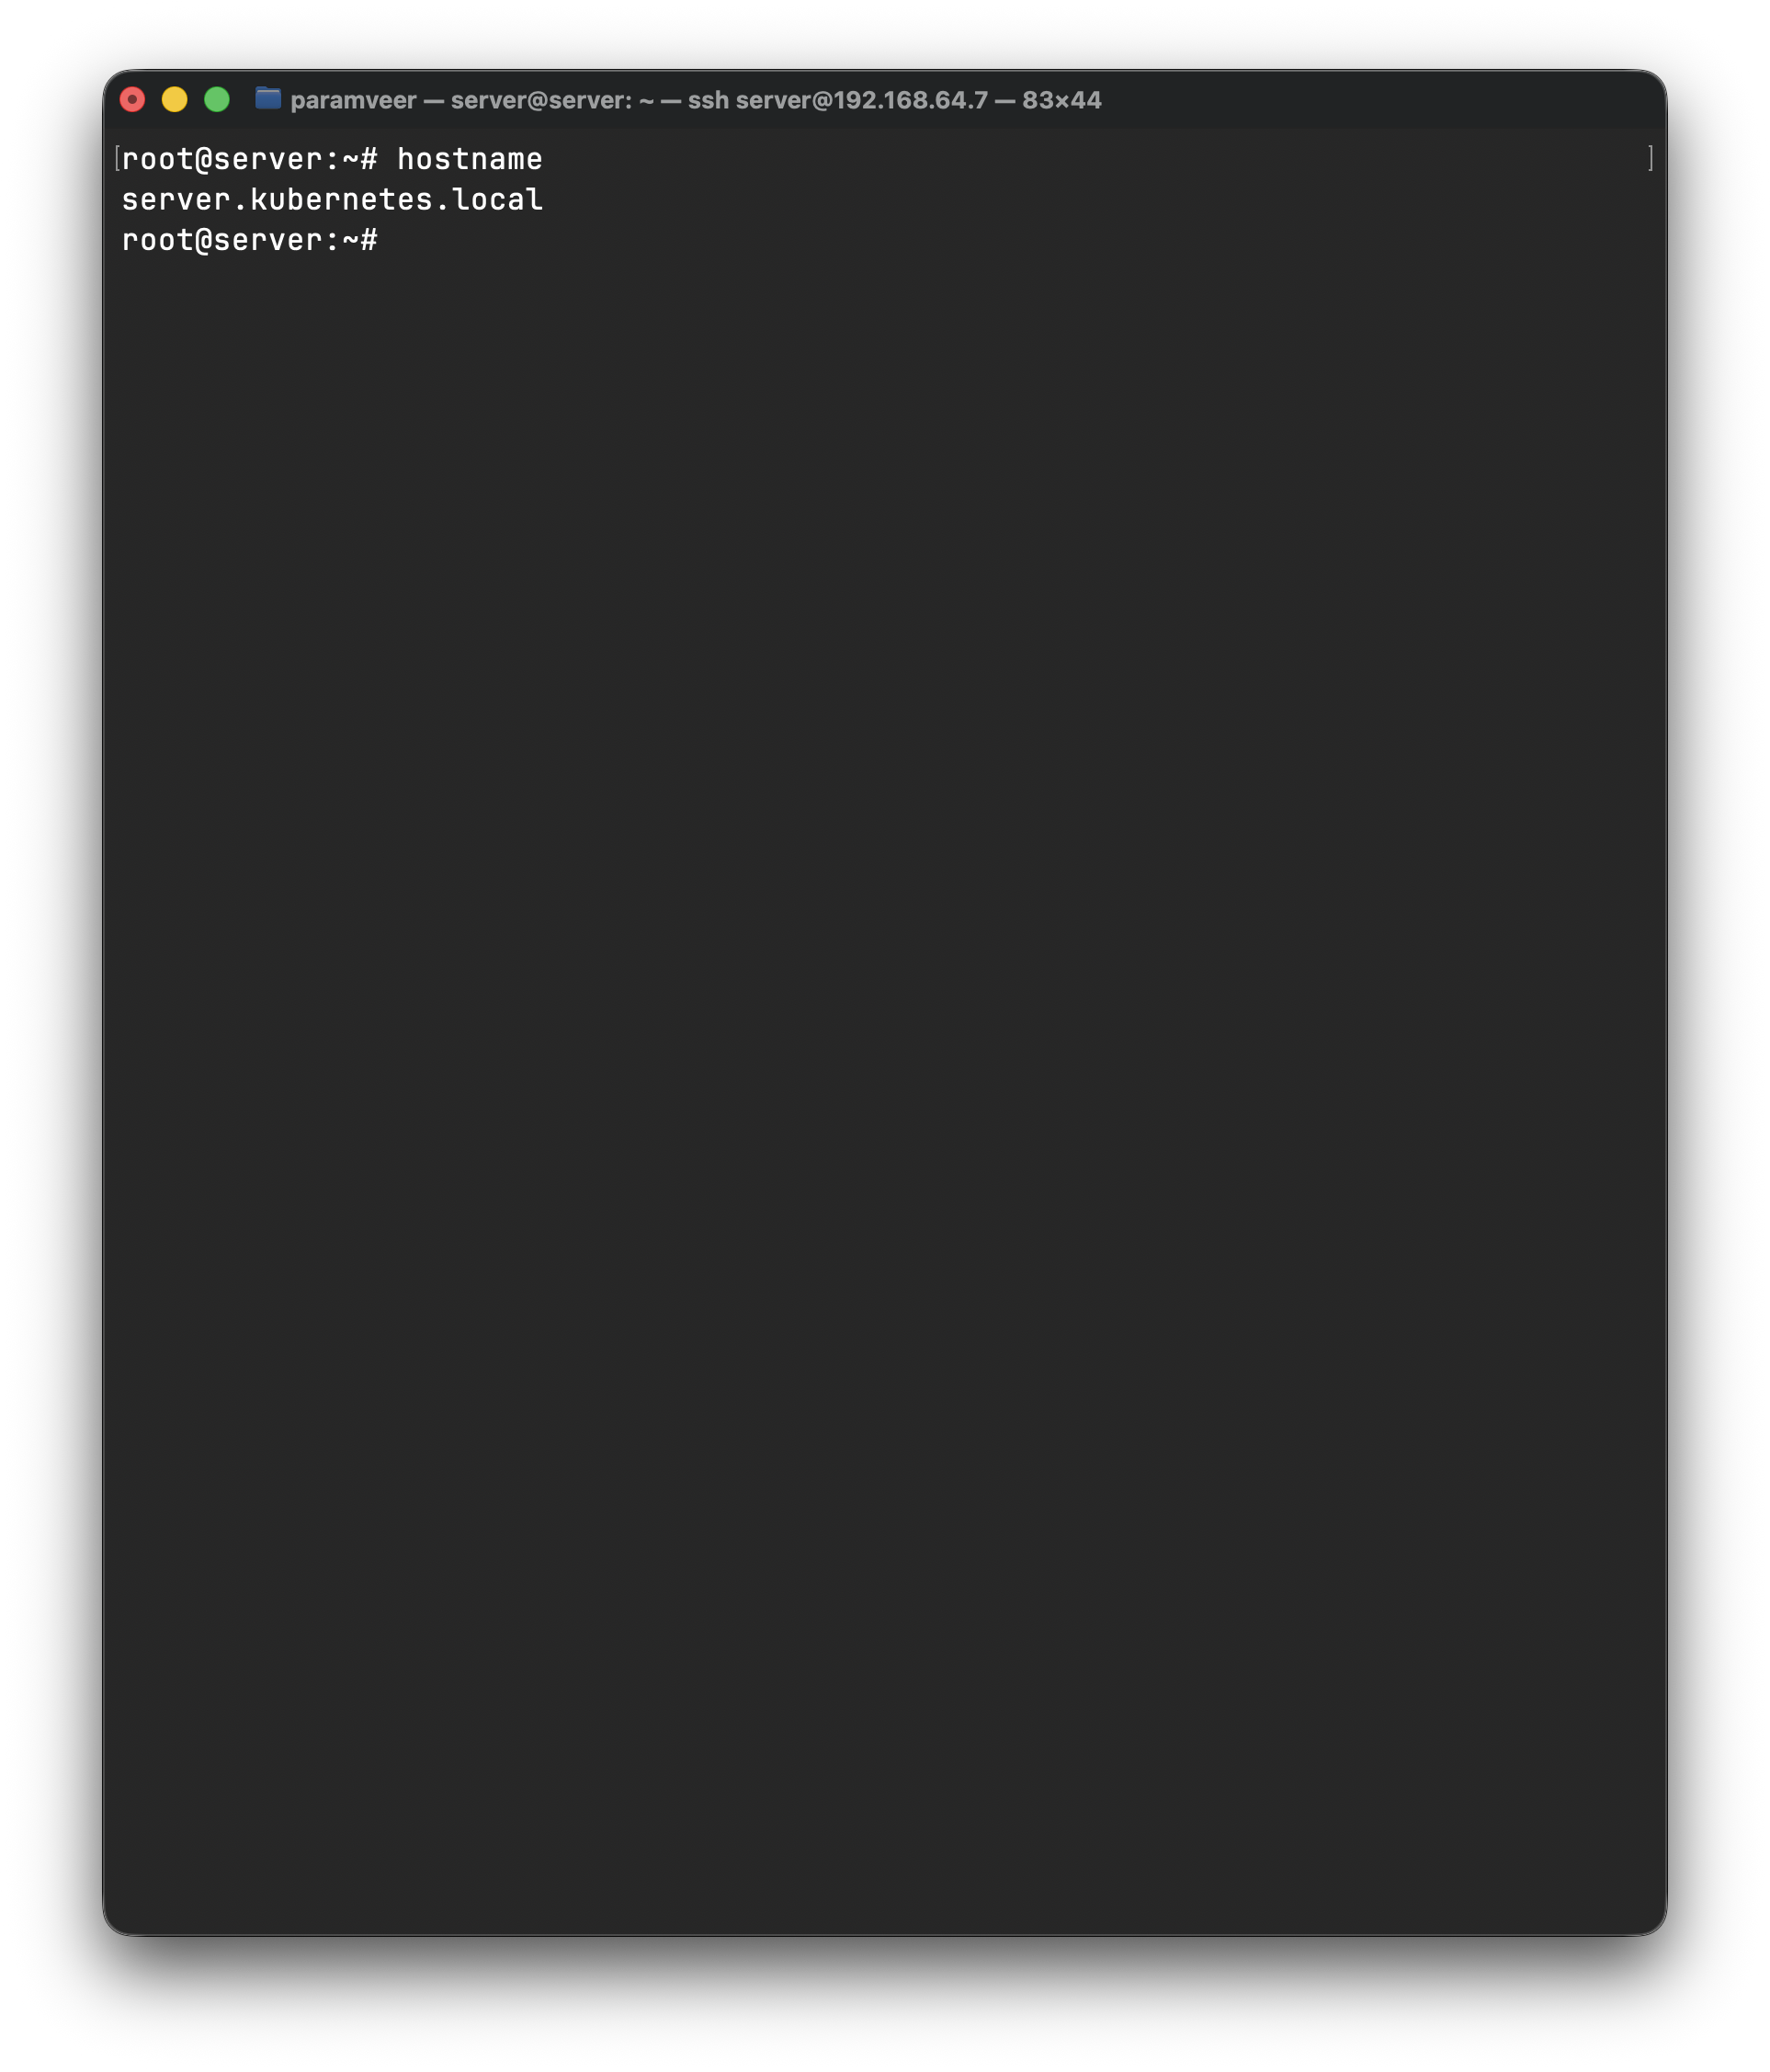
After reboot, verify:
hostname # server

hostname --fqdn # server.local.server
It should look something like this
Repeat these steps for node-0 and node-1. Make sure to change machine-name!
Notice how we didn’t do the same for
jumpboxmachine. For that, please refer to this illustration kubernetes-cluster. If we zoom in a bit, you would see thatjumpboxacts as a virtual workspace. So, configuring the domain name isn’t strictly necessary for that machine.
Now, before we start with the jumpbox configuration, it is very important for us to understand the role of sudo, how is it related to su and the concept of privilege elevation; sudoers group.
We will continue that in next lesson.
Footnotes
-
https://github.com/kelseyhightower/kubernetes-the-hard-way/blob/master/docs/03-compute-resources.md ↩
-
https://www.geeksforgeeks.org/computer-networks/classless-inter-domain-routing-cidr/ ↩
-
https://www.geeksforgeeks.org/linux-unix/cd-command-in-linux-with-examples/ ↩
-
https://www.geeksforgeeks.org/linux-unix/touch-command-in-linux-with-examples/ ↩
-
https://www.geeksforgeeks.org/linux-unix/ls-command-in-linux/ ↩