Introduction
We did most of our initialization stuff done in the previous section. Now, we will set up jumpbox. It is the machine which we will use to run commands for our entire lab.
jumpbox is actually the admin machine which we will use as a home base system to configure our Kubernetes cluster from ground up.
In our previous section Setup, we only built our environment which replicates the Kubernetes ecosystem because we won’t perform operations from our machine directly. So, for our understanding, imagine jumpbox will be the actual machine present remotely from which we will manage Kubernetes clusters and we will use our machine to get access to jumpbox to operate.
But before that, there are a few essential tools which we need to install first.
Now as mentioned earlier, we are going to use our machine to access the VM simulating cloud environment. For that, let’s revisit our previous section and boot into jumpbox VM through utmctl.
Steps to SSH into our VM
These steps assume you have utmctl installed
- Boot jumpbox
- Run
utmctl start jumpboxon your mac terminal. - Verify the same by
utmctl listIf you’re using GUI, you can start it from UTM Dashboard
- Run
- Get ip-address for jumpbox
- Run
utmctl ip-address jumpbox - If you’re using GUI, you can view guest ip from the UTM Dashboard itself
- Run
- SSH into jumpbox
- Run
ssh jumpbox@ip-address - Now you’re into the jumpbox environment as default user
- Run
- Access root
- Run
sudo su -
- Run
- Run
clear
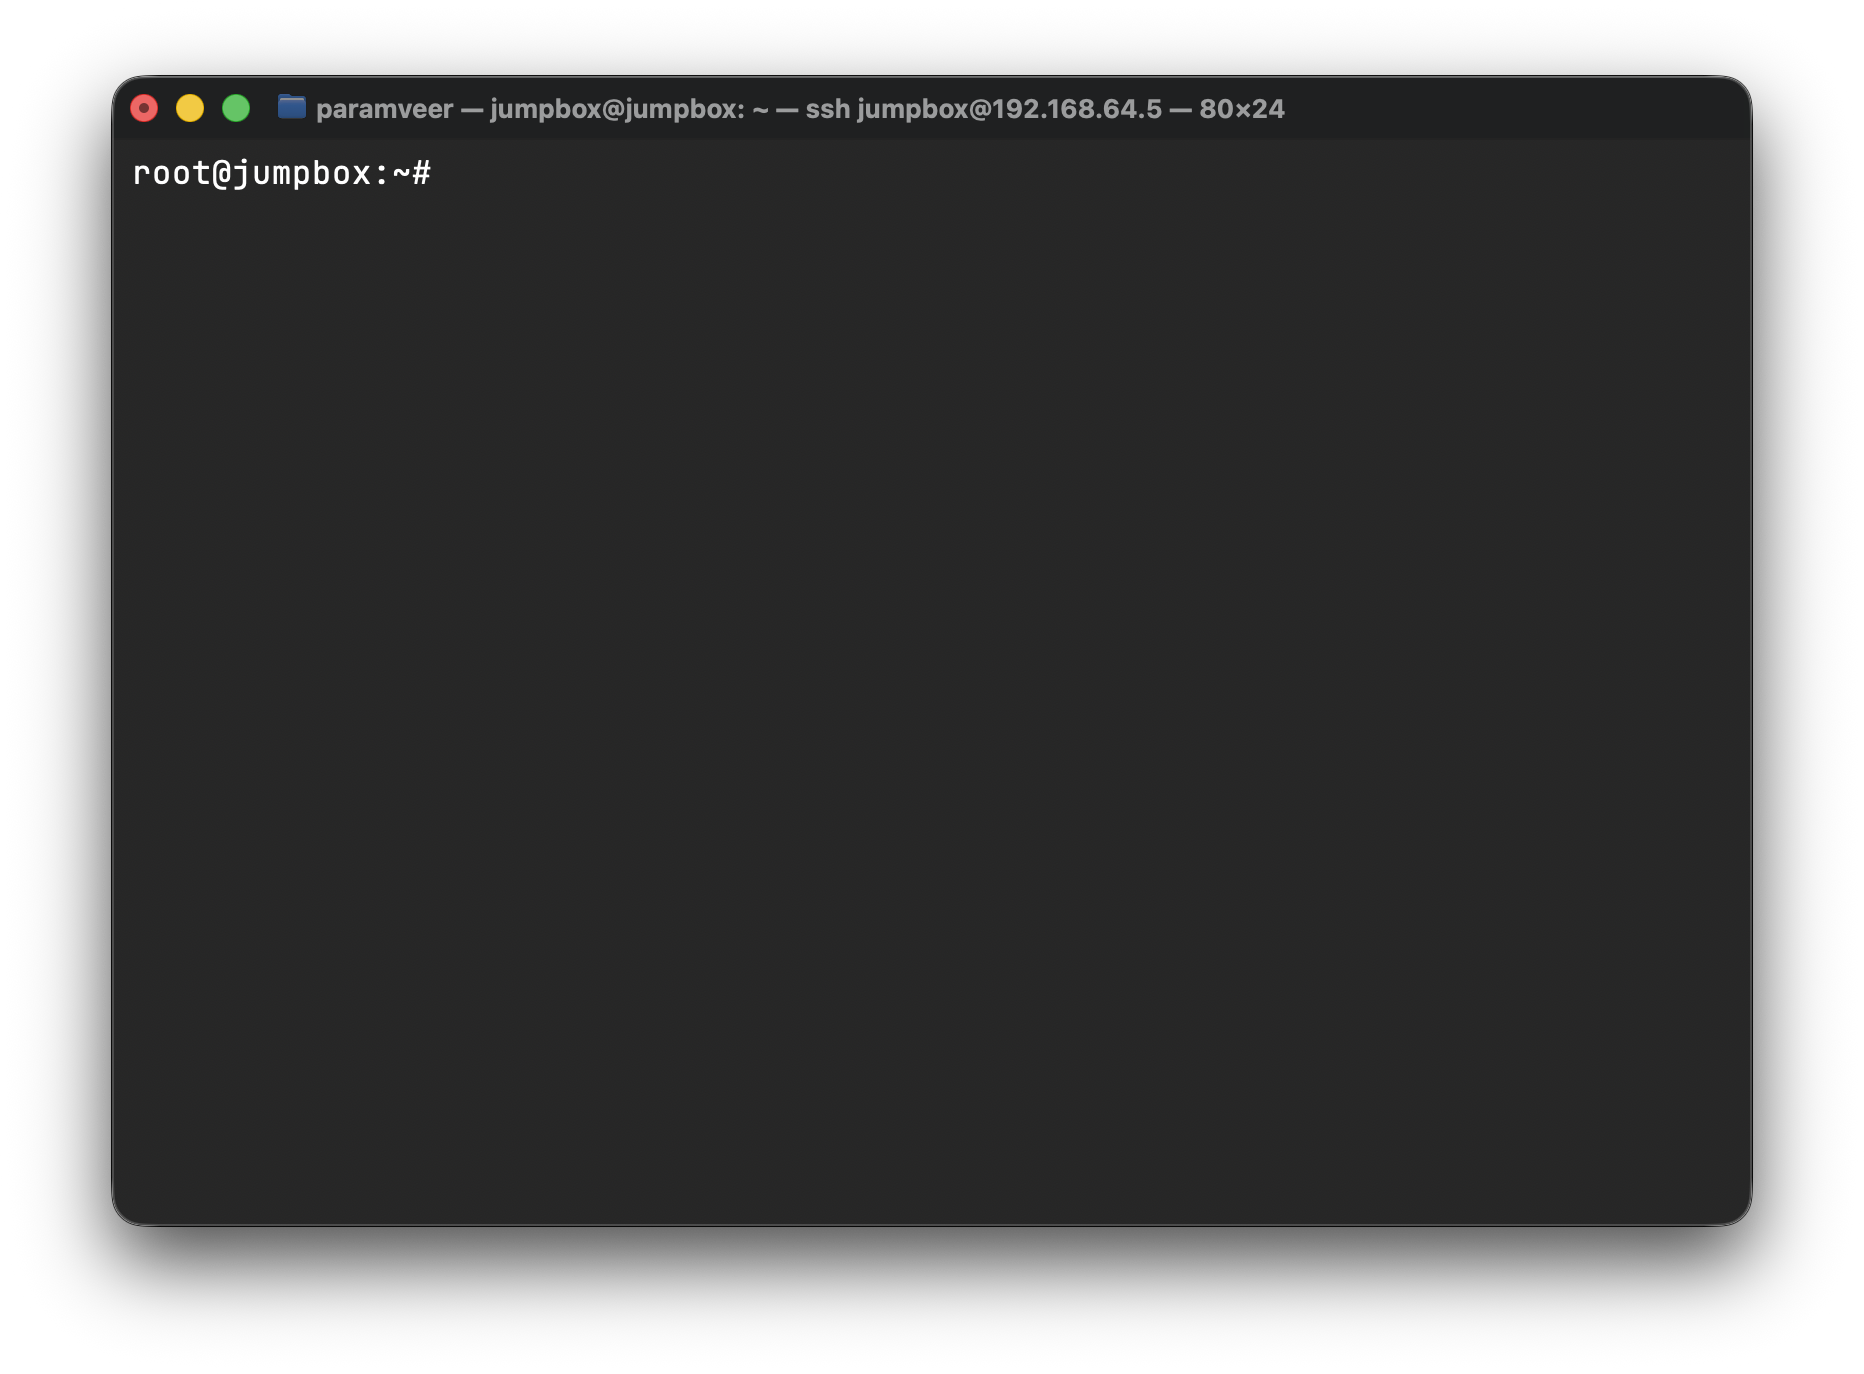
Once you are done with these steps you should have something like this
Install Command Line Utilities
Run this command to install wget, curl, vim, openssl and git
sudo apt-get update && sudo apt-get -y install wget curl vim openssl gitThis command will update all the packages already in the system using apt. Know more about this here(highly-recommended)
Download GitHub Repo
This section assumes you have working knowledge of Git
As we already installed git package in the previous section, hereby, we can perform actions like clone, push, pull, etc.
# clone the kubernetes-the-hard-way repo from github
git clone --depth 1 \
  https://github.com/kelseyhightower/kubernetes-the-hard-way.git
# cd into the dir
cd kubernetes-the-hard-wayTo verify if we are in the right directory, we can run pwd command. It should print this
/root/kubernetes-the-hard-wayThis means, we have successfully cloned the repo into jumpbox at /root/kubernetes-the-hard-way.
Downloading Binaries
In this section you will download the binaries for the various Kubernetes components. The binaries will be stored in the downloadsdirectory on the jumpbox, which will reduce the amount of internet bandwidth required to complete this tutorial as we avoid downloading the binaries multiple times for each machine in our Kubernetes cluster.1
The binaries that will be downloaded are listed in either the downloads-amd64.txt or downloads-arm64.txt file depending on your hardware architecture, which you can review using the cat command:1
catcommandThe
cat (concatenate)command in Linux is used to view, create, and combine file contents directly from the terminal2
cat downloads-$(dpkg --print-architecture).txtIf we run this command, we can verify that majority of the files have arm64 in their name which is exactly what we need.
Then we can run this command to download all the binaries.
wget -q --show-progress \
  --https-only \
  --timestamping \
  -P downloads \
  -i downloads-$(dpkg --print-architecture).txt
Depending on your internet connection speed it may take a while to download over 500 megabytes of binaries
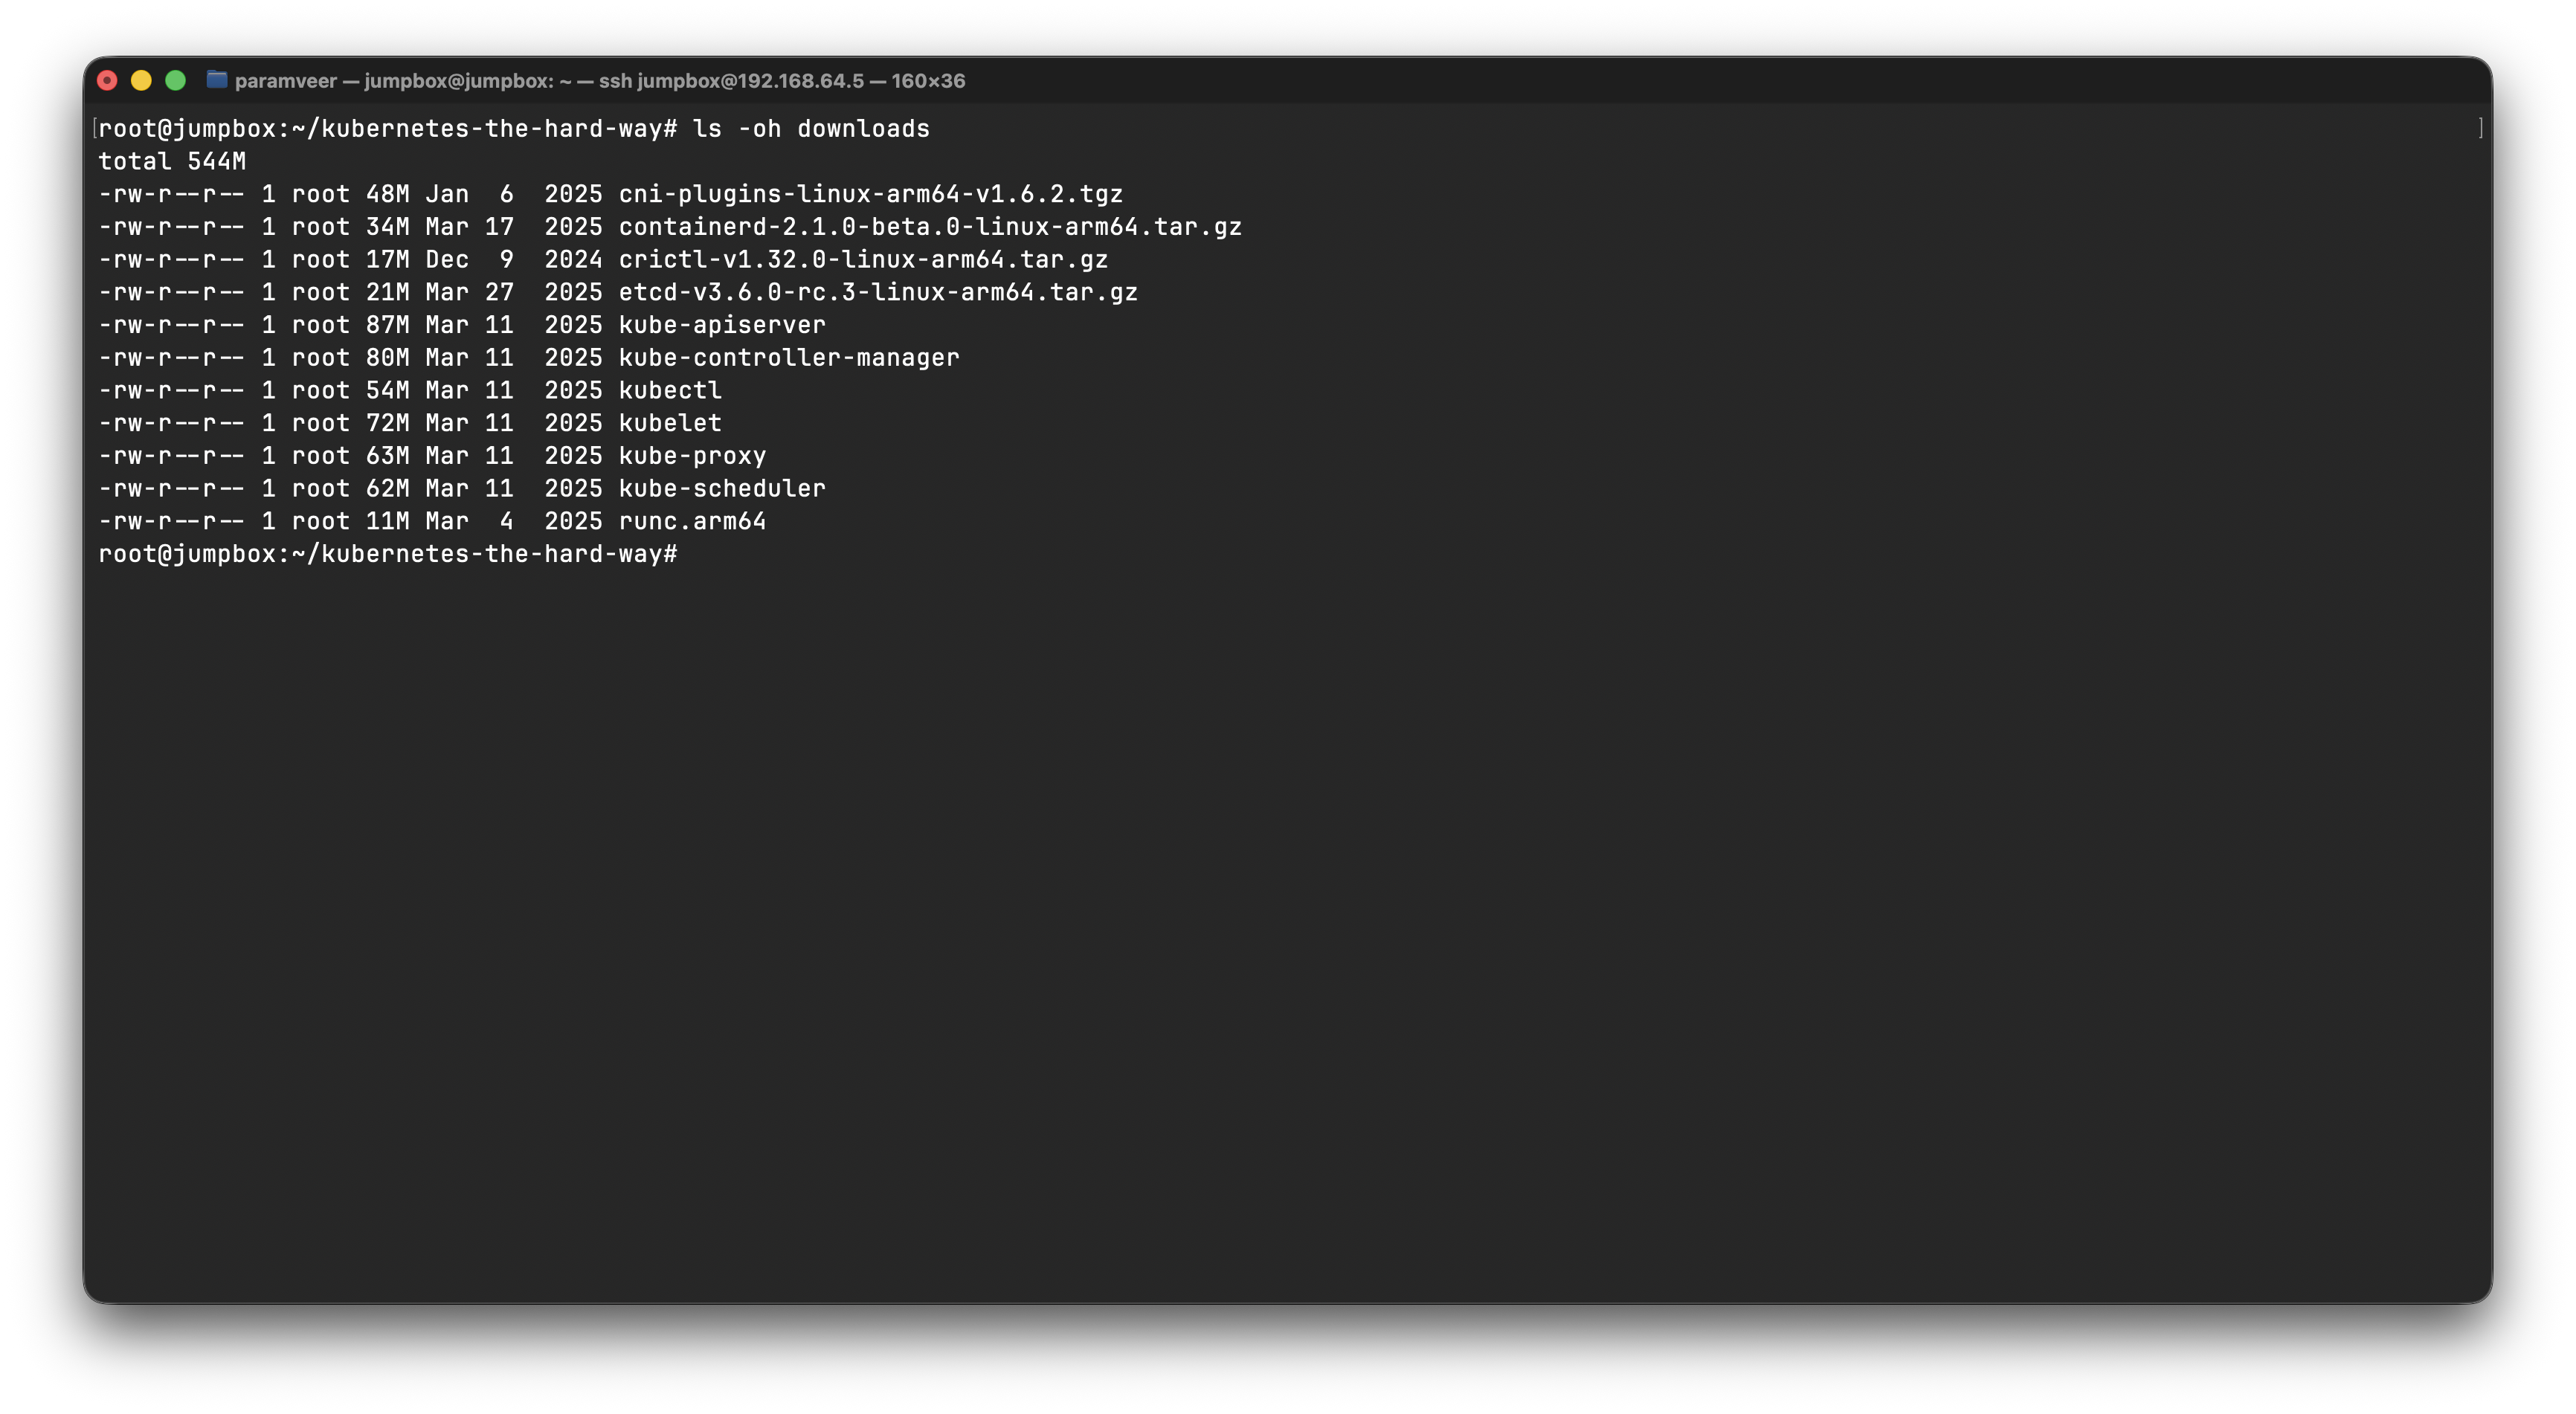
Once it’s done, we can verify the same using this command
ls -oh downloadsIf everything is correct, it should look something like this
 Now we extract the component binaries from the release archives and organize them under the
 downloads directory.
ARCH=$(dpkg --print-architecture)
  mkdir -p downloads/{client,cni-plugins,controller,worker}
  tar -xvf downloads/crictl-v1.32.0-linux-${ARCH}.tar.gz \
    -C downloads/worker/
  tar -xvf downloads/containerd-2.1.0-beta.0-linux-${ARCH}.tar.gz \
    --strip-components 1 \
    -C downloads/worker/
  tar -xvf downloads/cni-plugins-linux-${ARCH}-v1.6.2.tgz \
    -C downloads/cni-plugins/
  tar -xvf downloads/etcd-v3.6.0-rc.3-linux-${ARCH}.tar.gz \
    -C downloads/ \
    --strip-components 1 \
    etcd-v3.6.0-rc.3-linux-${ARCH}/etcdctl \
    etcd-v3.6.0-rc.3-linux-${ARCH}/etcd
  mv downloads/{etcdctl,kubectl} downloads/client/
  mv downloads/{etcd,kube-apiserver,kube-controller-manager,kube-scheduler} \
    downloads/controller/
  mv downloads/{kubelet,kube-proxy} downloads/worker/
  mv downloads/runc.${ARCH} downloads/worker/runc
Remove the redundant binary zip from downloads directory
rm -rf downloads/*gzCompile them into executables
chmod +x downloads/{client,cni-plugins,controller,worker}/*Install kubectl
In this section you will install the kubectl, the official Kubernetes client command line tool, on the jumpbox machine. kubectl will be used to interact with the Kubernetes control plane once your cluster is provisioned later in this tutorial.1
We have already configured somewhat of a same thing earlier in Setup.
Use the chmod command to make the kubectl binary executable and move it to the /usr/local/bin/ directory:1
cp downloads/client/kubectl /usr/local/bin/
cpcommandThe cp (copy) command in Linux is used to duplicate files or directories from one location to another within the file system. It supports copying single files, multiple files, and entire directories, with options to control overwriting and attribute preservation.3
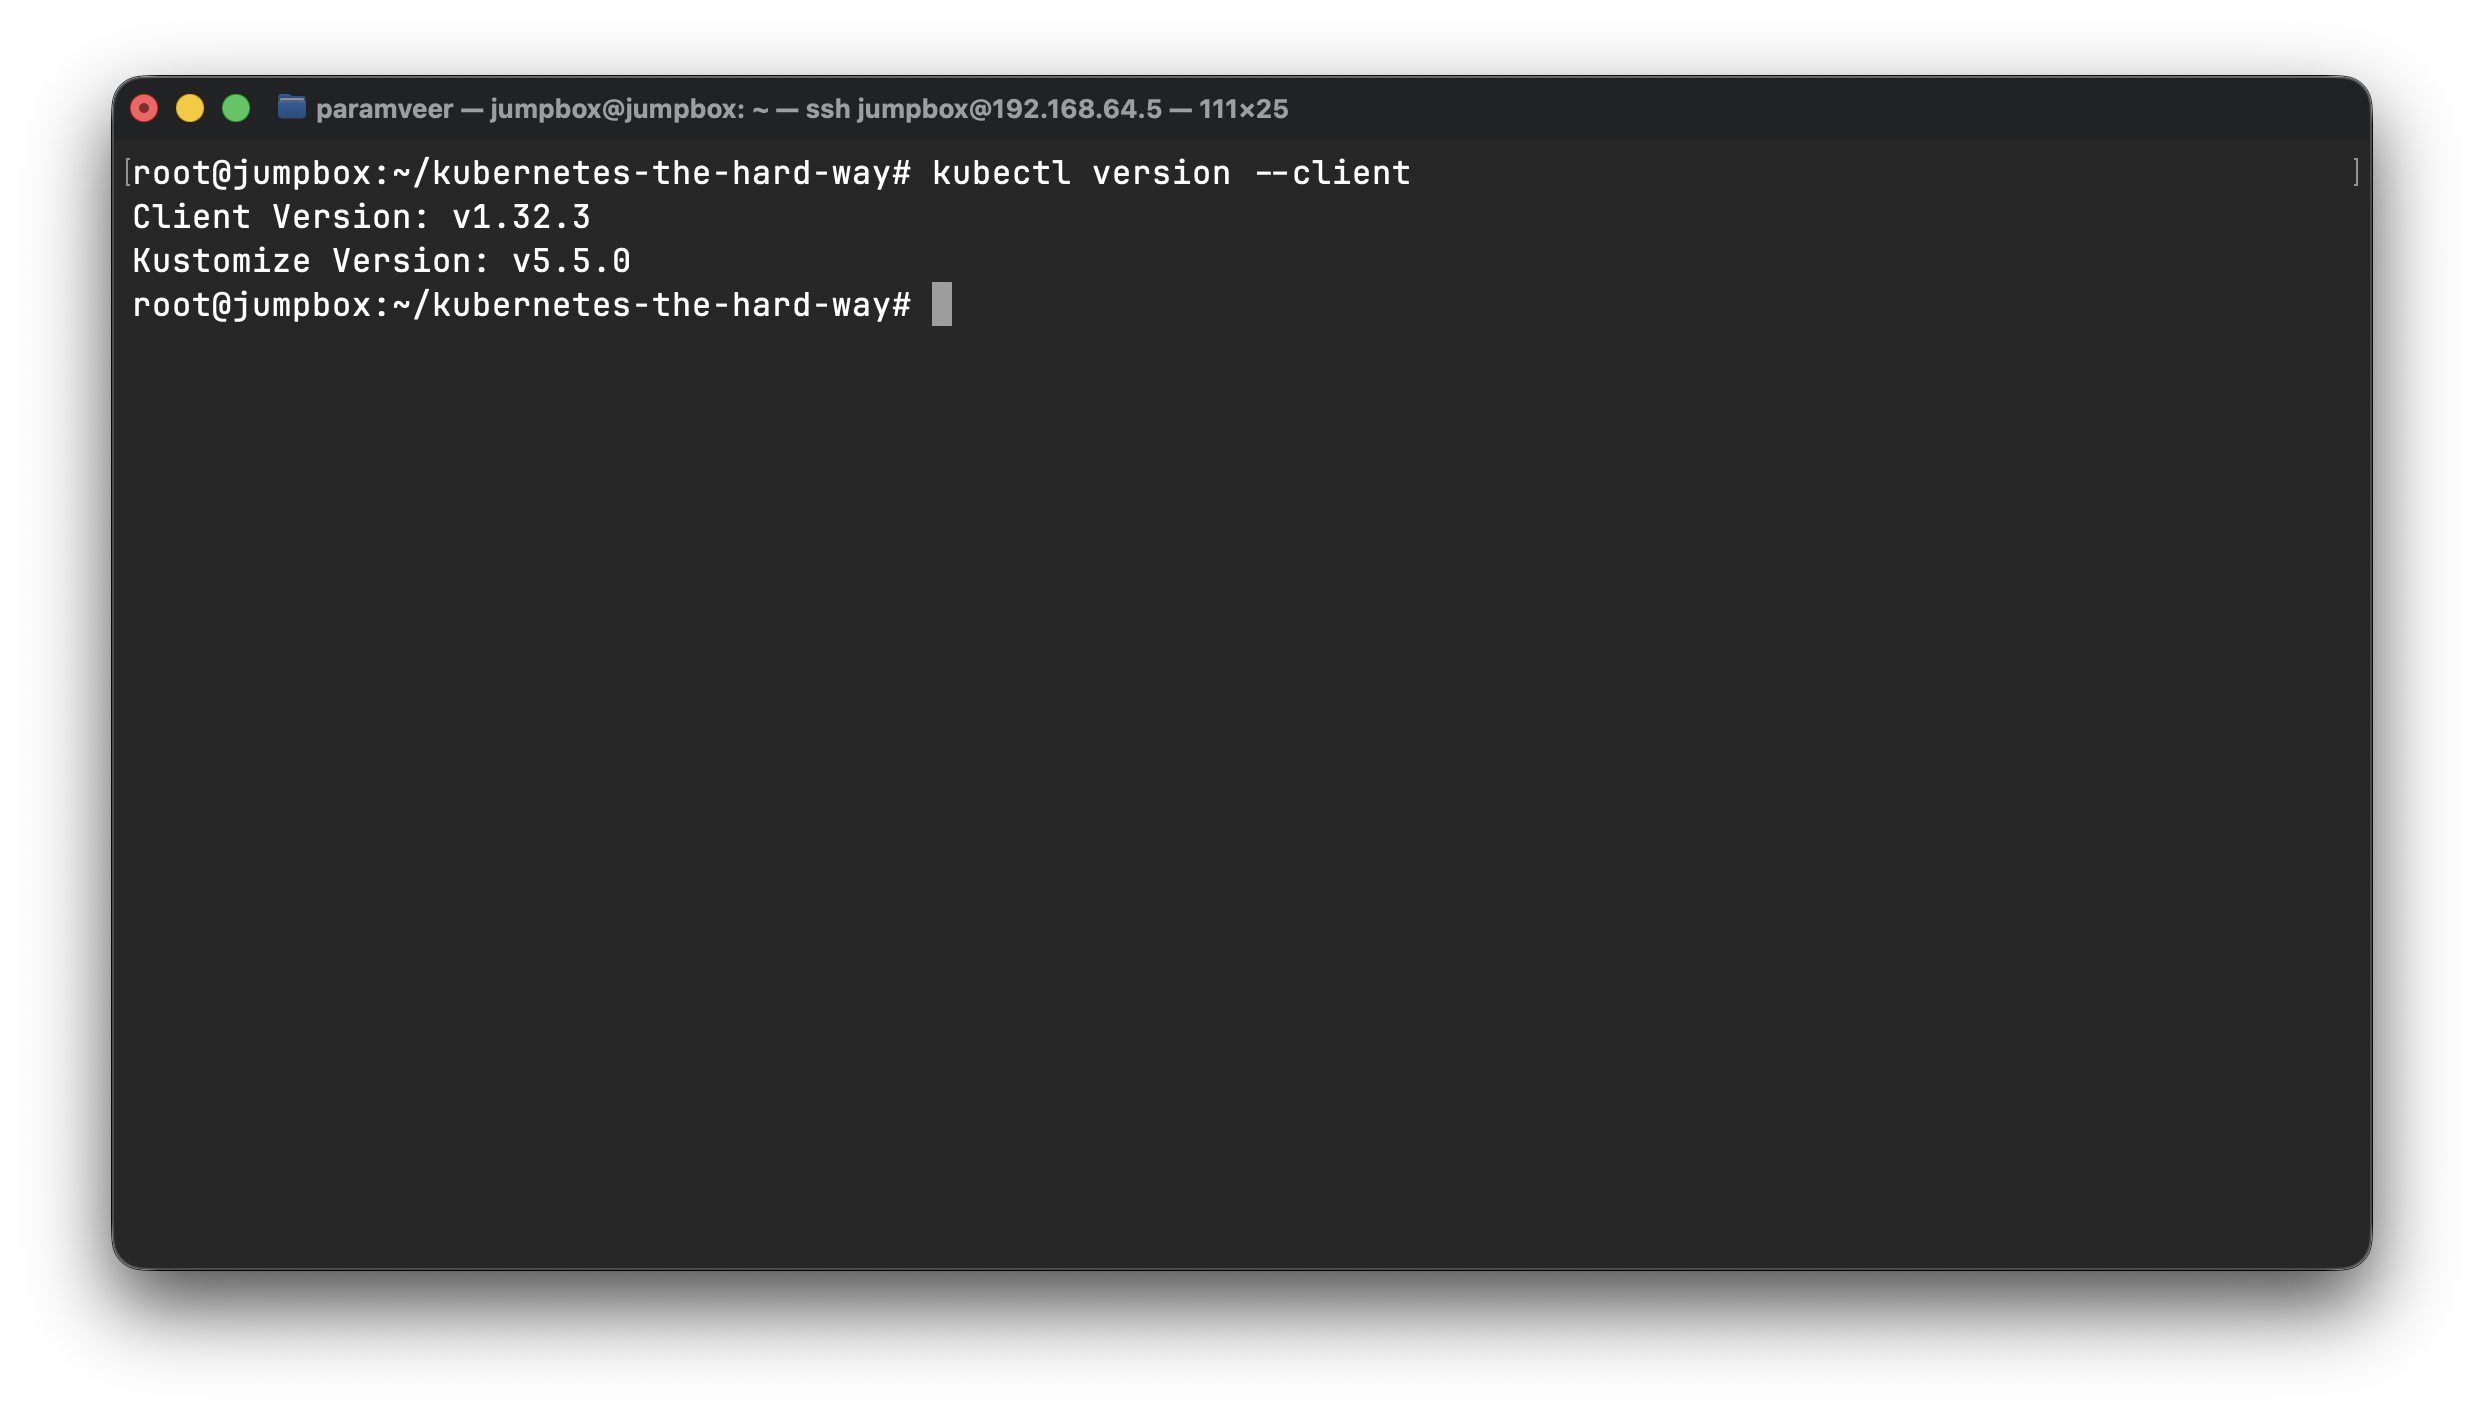
At this point kubectl is installed and can be verified by running the kubectlcommand:
kubectl version --clientThis should output something like this
 At this point the
 jumpbox has been set up with all the command line tools and utilities necessary to complete the labs in this tutorial.